How to Make Easy Pleated Curtains, tutorial

I am pretty easy going about most things when it comes to decorating my home. I'm not a perfectionist if it's something for me. (Clients pieces are another story) The one thing that really bugs me though is sloppy curtains. My old ones have driven me nuts for years especially when they were closed.
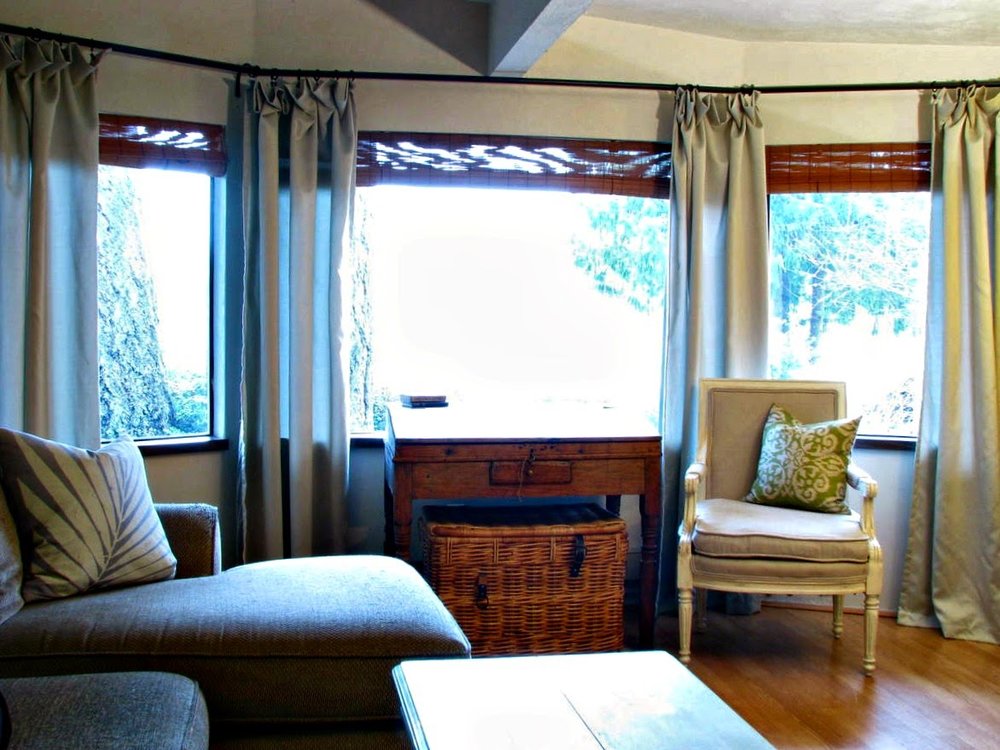
The before: That was even after spending some time fluffing.
I open and close my curtains everyday. It was important to me for the top of my new curtains to stand up nice and straight and to look neat and tidy when they were closed.
I initially thought I would make traditional pinch pleat curtains. I soon discovered that in order to do them correctly I would need double the width of my window in fabric for each panel. That would involve buying an extra five yards. I already needed ten. So I decided I would just do my own modified version.
Here's what my pleats look like.
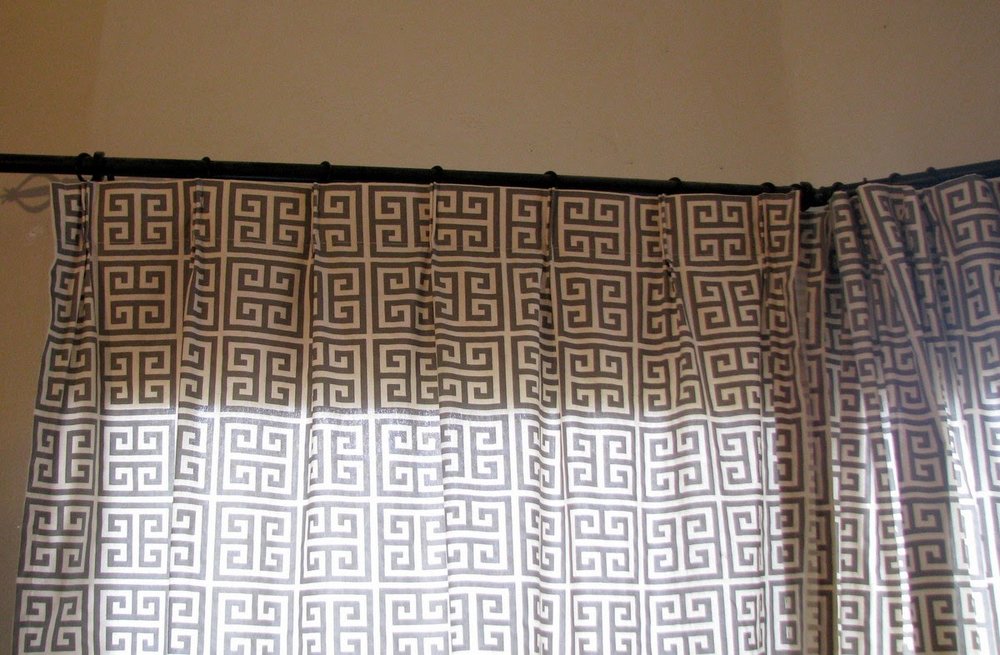
When the curtains are shut they stay nice and evenly spaced.
Here's a little video of me showing them in action. (cause why not right)
I started with fabric that with the salvage edge was a little over 56" wide. First thing I did was determine how long to cut my fabric for each panel by taking the finished width I wanted and adding 8", to allow for hems at top and bottom.

Once I had the panels cut I then sewed a double hem at the top. To create a double hem fold over and press the salvage edge at about 1/4". Then fold the hem over to desired length, mine was 3 1/2", press with an iron first then pin. Make sure to sew close to the edge so that you are sure to sew through the salvage edge that you pressed under.

Then I sewed down each side making a 1" wide double hem using the same method. I think a wider hem looks better on unlined curtains then a small 1/4" hem.
At this point I did not hem the bottom I saved that for last. Now I had to do math. My windows are 36" on each side and the middle one is 72". The width of my hemmed panel was now 54". I wanted the finished curtain width after pleating to be around 40" so that they would completely cover the windows. That left 14" to play with. I have seven ring clips for each panel so I had 2" to make my pleats. Definitely not enough for traditional pinch pleats, you need at least 4" to 5" for each pleat to make those.

Next I marked each place I wanted a pleat with a pin. For my panels that meant first measuring 2" and marking,then six inches until the end again was 2".
I started playing around to figure out how I wanted to make my pleats. Here's what I came up with. I placed two pins 2" apart with the original pin that marked where I wanted the pleat in the center. Then folded the fabric so they were on top of each other, pressing the fold with my iron.

Then I pulled the pins back halfway and pressed it. The dashed line represents where I planned to sew. This created a pleated effect that took up the two inches. Once I figured the first one out I just eyeballed the rest.

Once I sewed all my pleats I hung one of the panels to find the length I wanted then pinned the bottom. I like my panels to touch the floor and puddle just a tiny bit. Then I finished them off with a double hem like at the top.

To hang them I used the part of the pleat that sticks out the back to attach my ring clips.
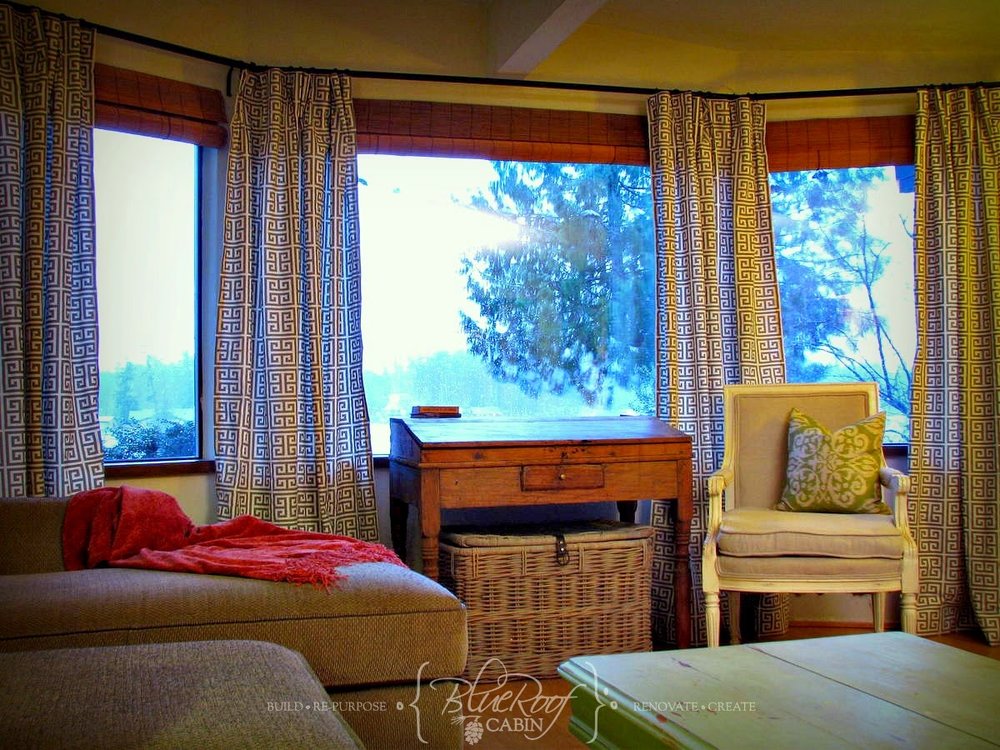
Adding some pattern into the room with these drapes has made all the difference. I am so happy I finally got around to it. And that the floppies are gone.
For more on how to make your own curtains check out these detailed videos from Sailrite on how to make drapery panels with tie backs. The second one shows in great detail how to measure and hem, plus I love how she climbs on the table ;)

This post is sponsored by Sailrite but all opinions are my own.