Hutch and Table Built From Random Parts
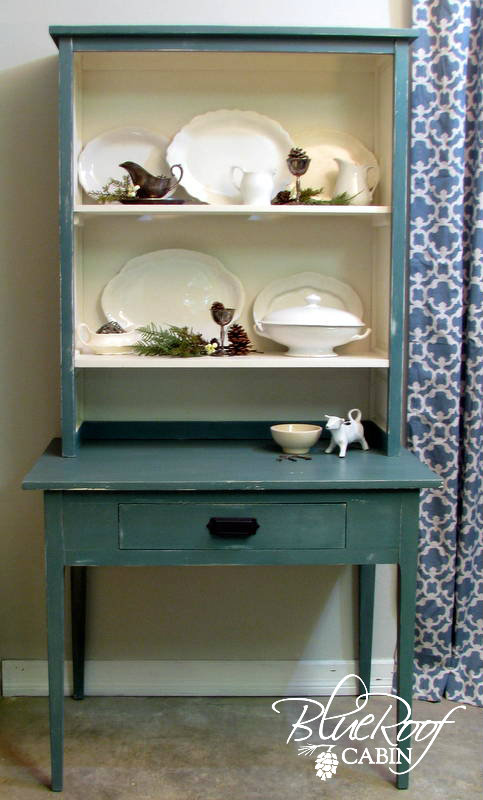
How are you? I'm doing good just plugging along with my projects. This one I finished a couple weeks ago. I named him Frankenstein because he was made from so many different pieces.
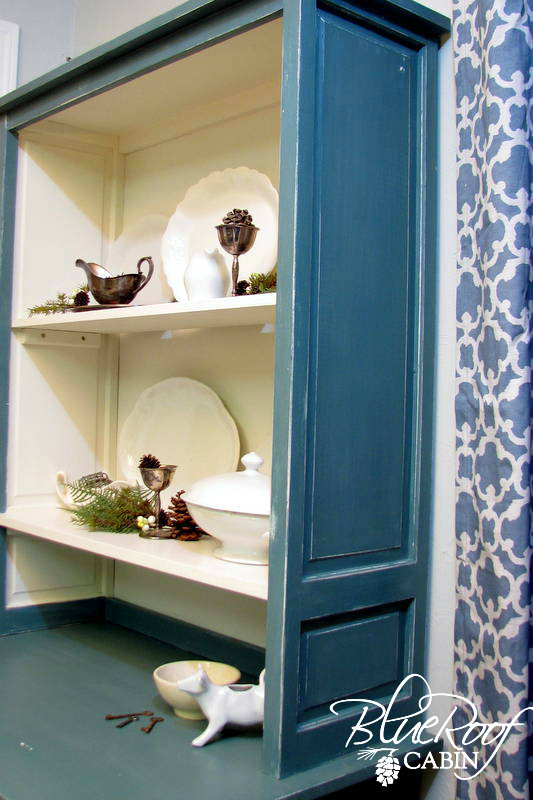
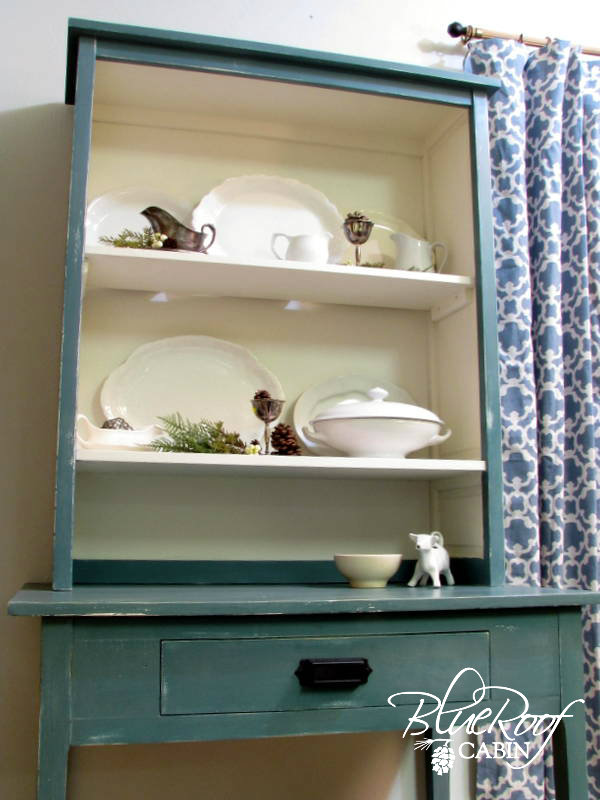
I built the hutch top first using bi-fold doors for the sides and pine boards for the shelves. I love the paneled detail. I cut the doors in half to get the desired height.
.
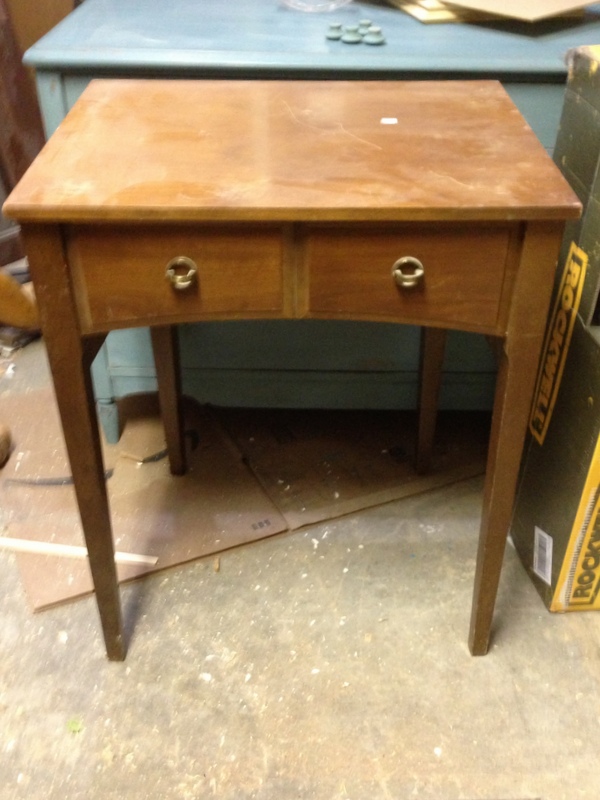
For the table base I took the legs off of an old sewing table. It was only $5 at a thrift store. When shopping for furniture I always try to look at pieces I don't necessarily like as they are for their parts. You can't buy four table legs for five dollars. Not even one. So for the bargain price of $5 I got four table legs, the top to use for something else, some hinges and the sides can be used to make signs.
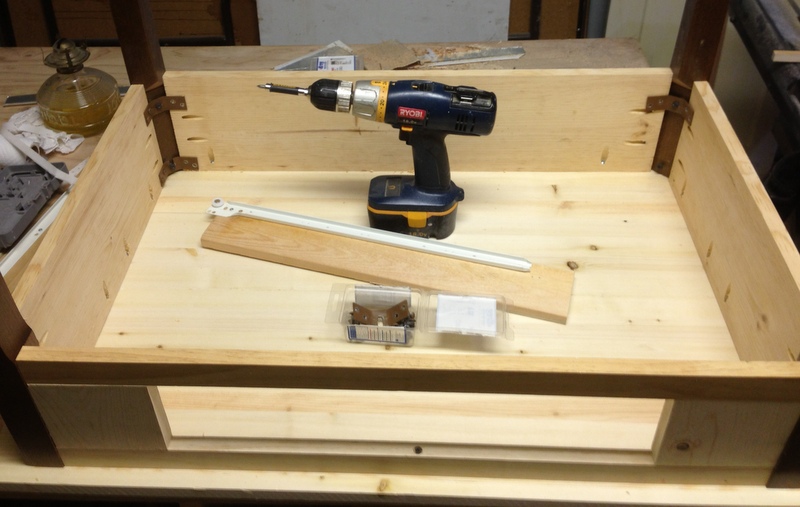
I used pine 1 x 8's to make the table apron sides and back. I decided to drill pocket holes and use screws to attach the boards to the legs. The sewing table came with metal brackets that attached the legs but trying to get everything square and lined up using those would have taken too long. Once I had everything screwed together I added the metal brackets for extra support so the table is very sturdy.
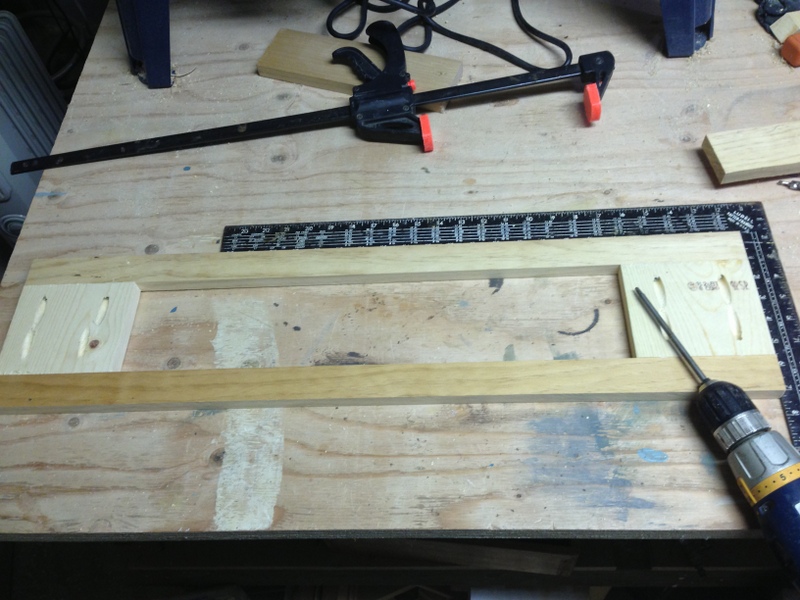
To make the front I cut my pieces and attached with pocket holes and screws.
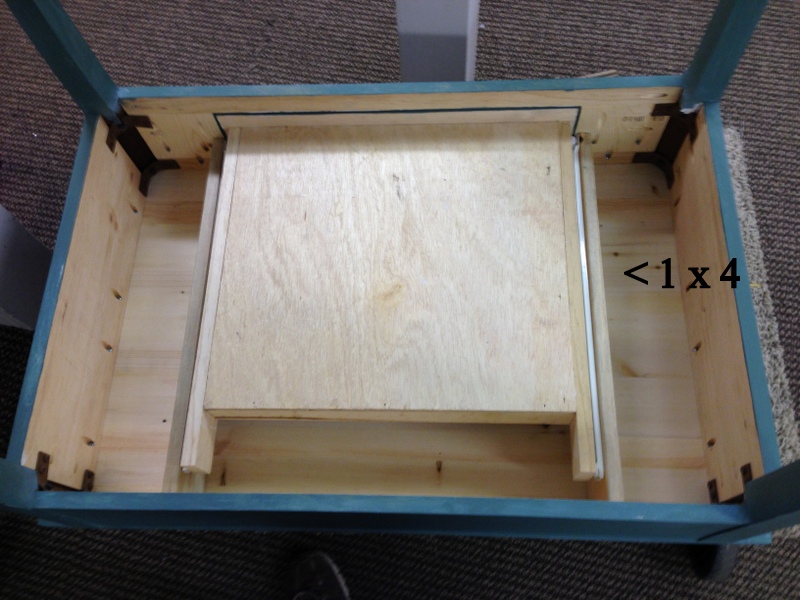
1 x 4's support the drawer glides and also help support the top.
I wanted the drawer to be flush with the front panel for a more primitive look. I have found the easiest way to do this is to install the drawer without the front piece. Then with the drawer shut add the drawer front last so that it is perfectly centered. I then just use glue and finish nail through the front to attach. Since I painted the piece the holes are easily filled and disguised.
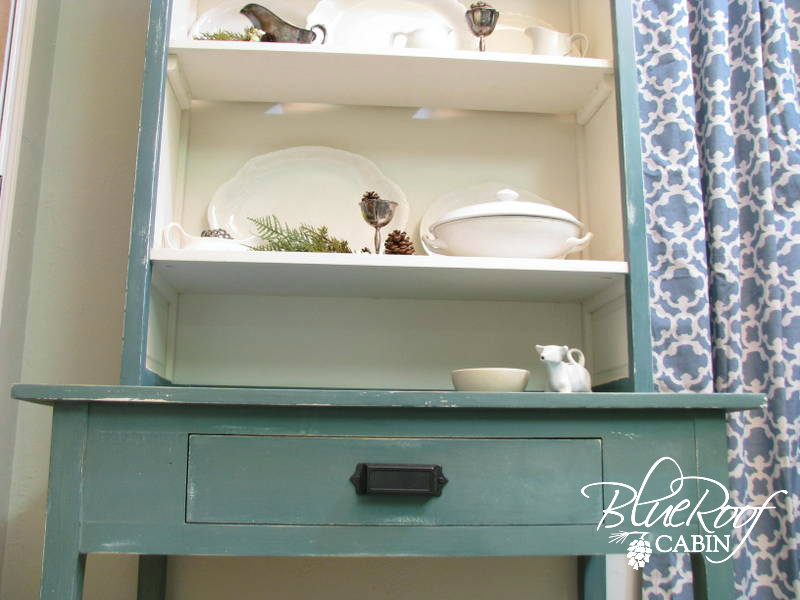
To unify everything, since I had so many finishes going on, I first painted the whole thing with a white homemade chalk paint.
Then I painted it with Miss Mustard Seed Milk Paint in color Kitchen Scale. I distressed the edges to reveal the white underneath.
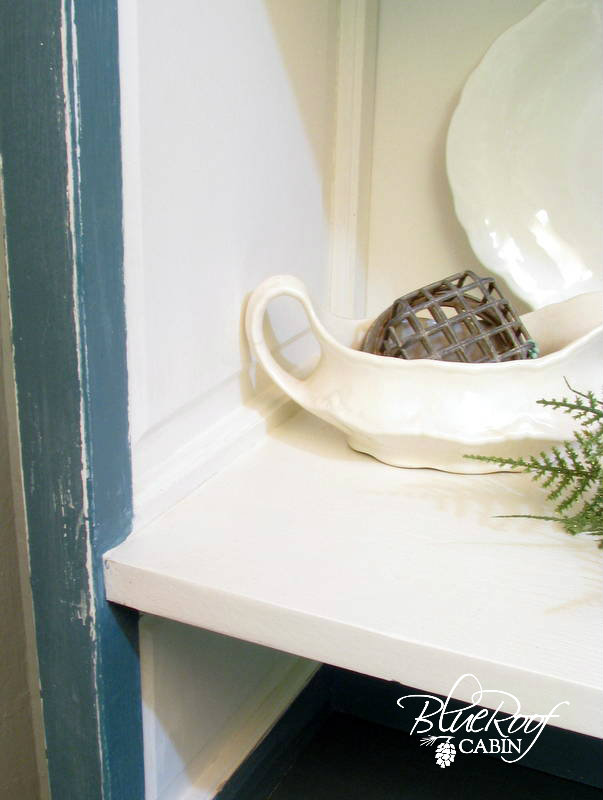
I sealed all the blue with wax but used clear poly for the inside shelves.
I really had fun with this project. I know I have said this a million times but re-purposing old castoffs is my absolute favorite. Thanks for visiting!
