DIY Hall Tree
For the last few weeks I have been working on a Hall Tree for my Dad and his wife Terri. They asked to me to build it oh about six months ago but they were in no hurry. Thank goodness because apparently neither was I.
This is the second Hall Tree I have built. Here's a photo of the first one.
To see a detailed tutorial go
.

I made a few changes to the design for this project as well as increased the size to custom fit their home. This first Hall Tree was 36" wide and had
cubbies on the top as well as bead board on the back.
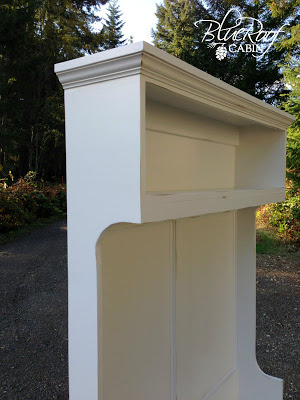
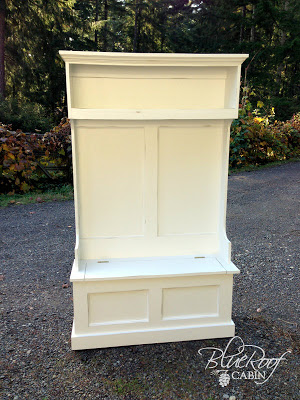
On this project I chose not to make cubbies on the top and just leave it open. I also used a smooth panel on the back instead of using beadboard. My Dad is not really a fan of beadboard.

The base has tons storage space.

I used standard 1 X pine boards that you can find everywhere and attached everything with glue and screws using my Kreg Jig Jr. to make pocket holes. I built my frame then attached 1/4" plywood to the inside to create the panels.

The plywood covers all the holes.
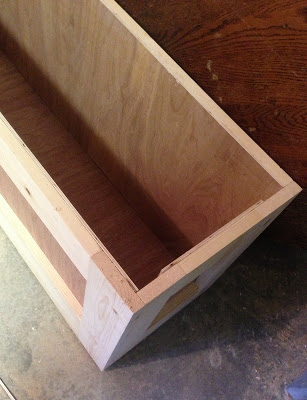

The Hall Tree is built in two pieces and then attached with pocket holes and screws from the inside the base. This makes it much easier to work on and move around.

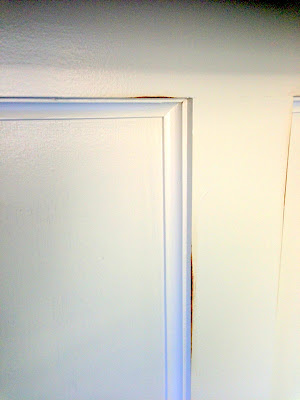
I could have left the panels as is but I thought my Dad would prefer it to be a little fancier. I used small cove trim in the paneled area to add some detail.

This adds at least an hour because of all the miter cuts and about $15 to the cost of the project but I think it's worth it.
Total cost for the project was just under $100. That doesn't include hooks. Here's the measurements.

(depth is 14" which includes a 1" overhang of bench top)
Oh and I have great news if you want to build your own Hall Tree. There are FREE detailed plans for you. I had the pleasure of working with Ana White of
to make my original plans available on her site. The plans are very detailed and easy to follow. Just in case you haven't heard of her site it has tons of awesome free furniture plans. The plans are for a 36" wide version but you could easily convert the plans to suit your needs.

Here it is in it's new home. They needed it to be no more than 14" deep due to the sliding glass door to the left and no more than 48" wide due to the air return on the right. They will be adding hooks under the shelf for coats and eventually will fill the top shelf with baskets and pretties.
They are very happy with it which makes me so happy. Of course they have to keep it forever now because it is so huge I would definitely notice if it was gone. ;)
