Archway to a Tiny Kitche
Hello friends, hope your weekend is going well. It is snowing here in Western Washington, big fuffy flakes. Since I don't have to work tomorrow I don't mind, it's pretty.
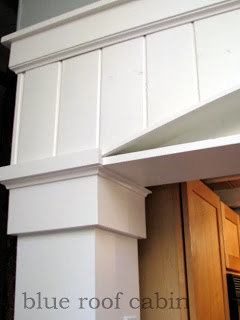
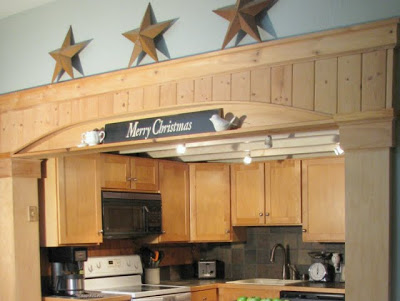
I did some painting yesterday and completed the next item on the kitchen makeover list. Paint the archway, wait for it...white.
I LOVE it white.
I have fallen in love with the archway again.

I built the archway about 10 years ago. I confess I built it two times. The first time I didn’t plan well and the arch wasn’t centered on the seems of the tung and groove. Everything was off by an inch and the arch was crooked. It drove me crazy
and then one day a friend who was a “real” carpenter came over and was looking at my work. I promptly
took it down and fixed it.
My skills have definitely come a long way
and
I learn something new every time I build something. I'm telling you this because some of you aren't sure you can tackle wood working and I say you can! Just try it. For me all that matters is I go for it and if I mess something up or have to do it over, oh well.
I don’t have a before picture but whatever had been covering the beams my husband didn’t like and he had torn it down before I came along. What was left was exposed beams and not the pretty kind.
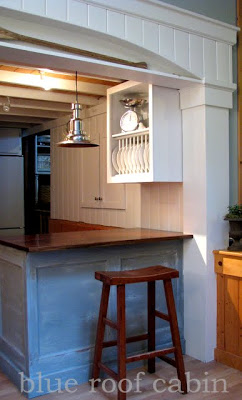
My inspiration for the arch came from an old episode of The Christopher Lowell show circa 2001.
In that episode he converted an old upper cabinet by removing the doors and putting bead board on the back of the cabinet. Then he added an arch to the front to make it into a pretty display area.
I had not yet heard of HGTV at that time so I got my creative fix from watching his show
.
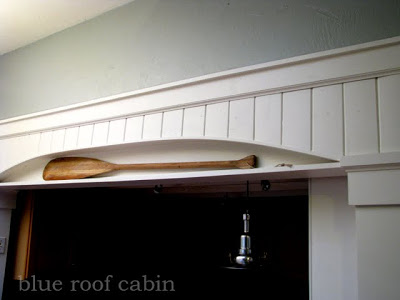
The beams over the kitchen were staggered so that the bottom one was a few inches behind the top one. This allowed me to make the cubby area under the arch for display.
To get the curve I laid out all the pine boards face down and screwed a board to the back to keep them stable. Then I flipped it over and put a screw in the center of the whole thing where I wanted the top of the arch and a screw at each side where I wanted the arch to end. Then I use a rigid piece of trim and bent it around the screws. Next I drew a line and cut it out with a jig saw.
To make the post I enlisted my dad and his table saw to help. I didn't have one back then. He cut down some maple plywood to size at a 45 degree angle so I could put them together to form a box. Then I trimmed everything out with basic pine boards because it wasn't going to be painted and had to match. The trim covers a multitude of craziness.
Here's a tip. I needed a piece of trim to finish off the arch and I was having a hard time bending it. So I took it outside and laid it over two saw horses and about 4 feet apart. Then I tied a string to the middle with a weight on it and left it overnight. The next day the trim was bent in a curve and easier to install.
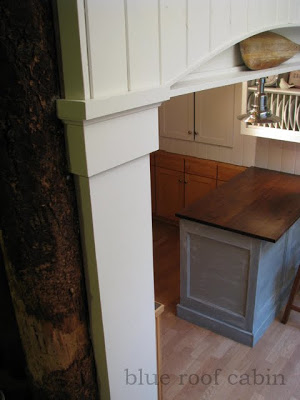
Do you see the log to the left? That is a support post from the original cabin and I just couldn't cover it up, gotta keep some of the quirky.
Here's a before.
Oh dear god. There's just no contrast. Much better white.
Things are starting to come together.
Slowly my yellow pine nightmare is ending. Ya know I only have myself to blame for all that pine, I'm the one who put it everywhere, oh well I forgive me.

P.S.
I saw something on Pinterest that I am planning to try on that oar that I hope to show you tomorrow. If it works out that is. If not let's pretend I never said anything.