DIY Trellis Over the Garage Door
What a great weekend! beautiful, sunny, warm, just what Summer should be. I even got a little sunburn on my shoulders while I was working my butt off.
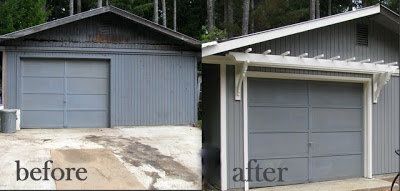
For the last two weekends I have been working on a Garage makeover.
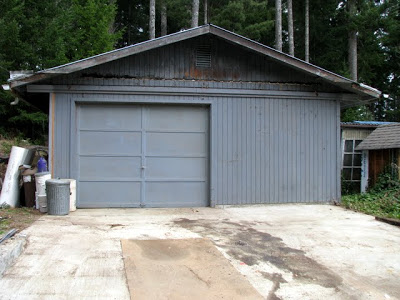
A couple months ago my husband tore down an ugly "shed" that was built onto the front of the detached garage. It provided great storage but wasn't pretty to look at.
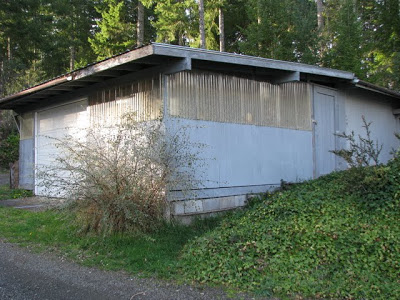
ugly shed with corrugated plastic windows, very fancy.
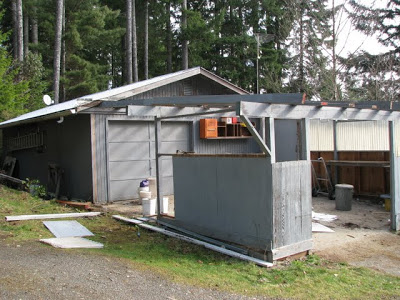
Going, going,
Gone!
Hubby tore out the concrete too, it was in rough shape. See that black line across the front. It's tar from where the old shed roof met the Garage. Removing that was the hardest part of the whole thing. I had to use a heat gun and a scraper to get it off. Uggh!
It's hard to tell in the pictures but the original paint color is actually smokey blue.

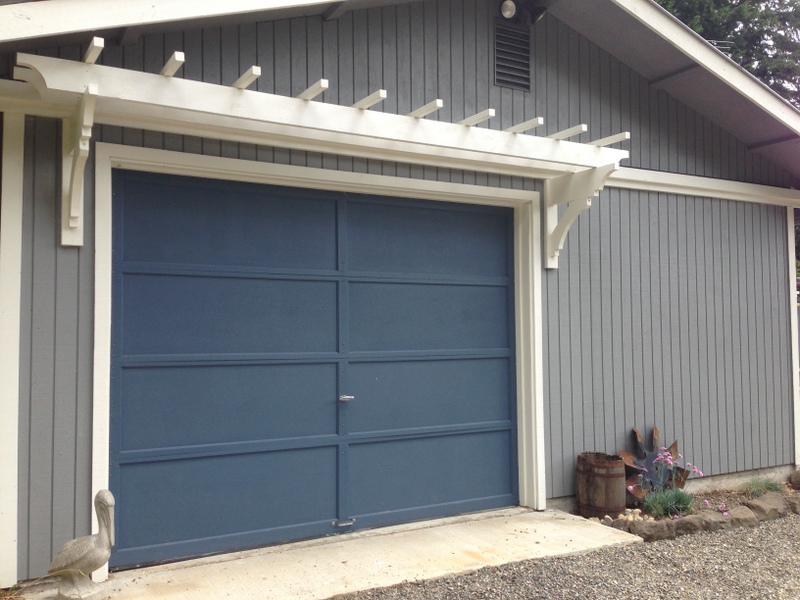
I painted the Garage Bonded Asphalt Gray in Satin finish from Walmart's Glidden line. The trim is Oyster Shell also by Glidden. I haven't painted the door yet. I am going to paint it blue to tie in with the blue roof on the house. I would really rather paint it dark charcoal but until we get a new roof on the house, blue it is.
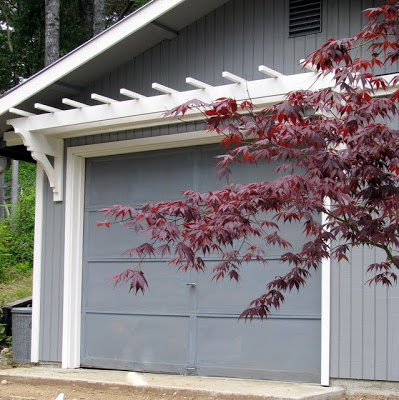
To make the Garage more interesting I built a Trellis. I found a few inspiration photos from google images. I didn't find any plans though so
I had to wing it, but that's okay cause winging it's my favorite!
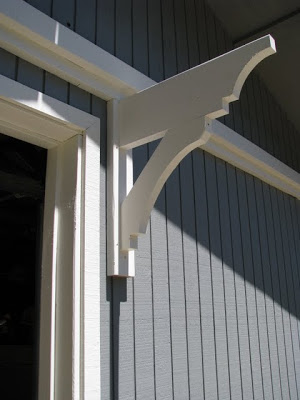
The brackets are made up of a 2 x 4 for the back, the top is a 2 x 8 and the support piece was cut from a 2 x 6. The overall measurements are 25" x 25" I built the brackets first then mounted them to the garage with screws.
* edited to include measurements.
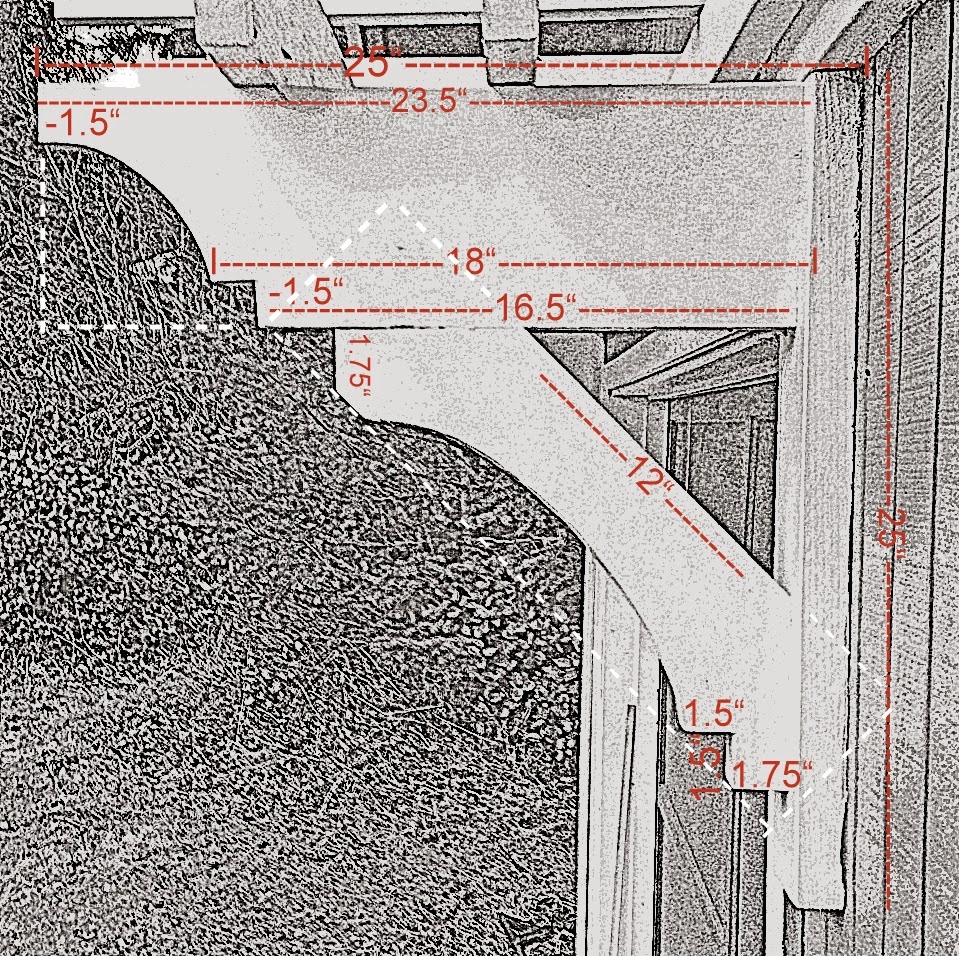
Here's the measurements. I eyeballed everything but I went back and measured for you. The white dashed lines represent how I cut the shape out of a rectangular piece. The top is cut from a 2 x 8.
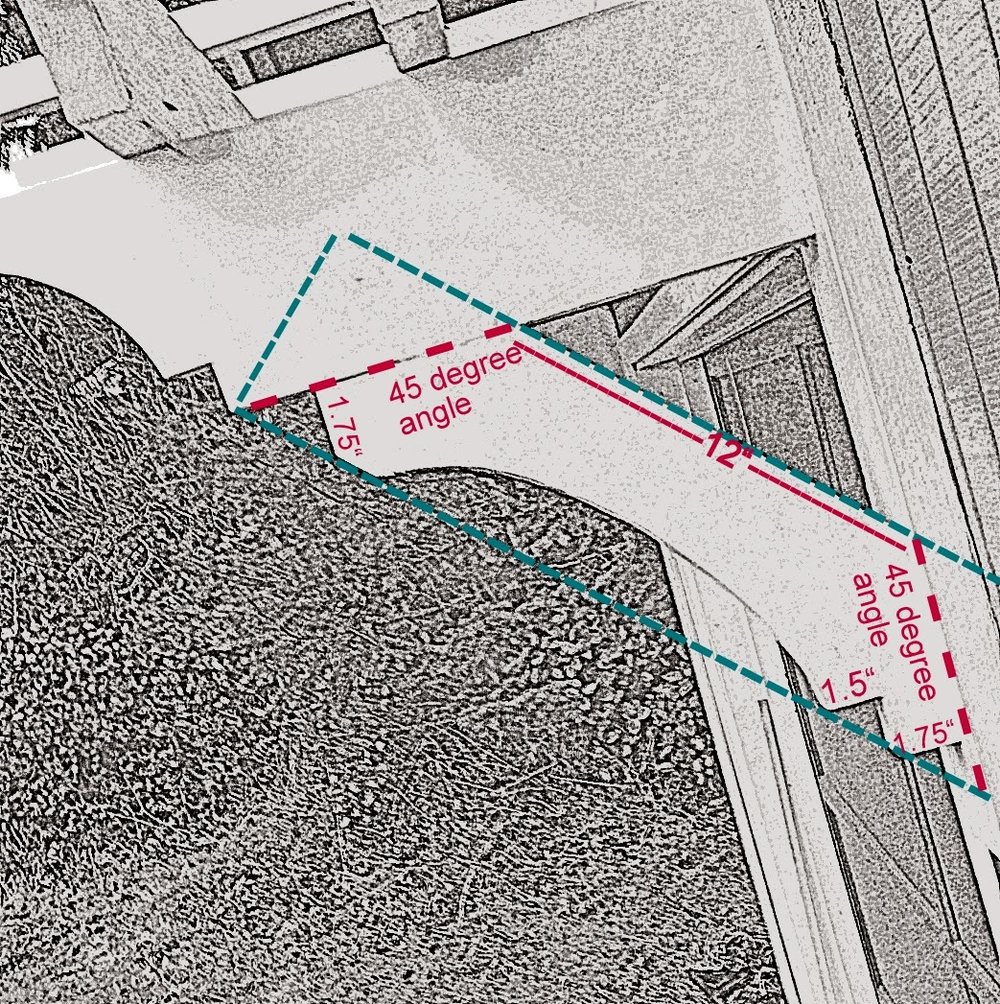
The angled piece is from a 2 x 6. I started by cutting one end at a 45 degree angle. The measured 12" and cut another 45 going the other direction. Then I cut the points off at a 45 degree angle. Then made the extra notch at the bottom, then draw a curve.
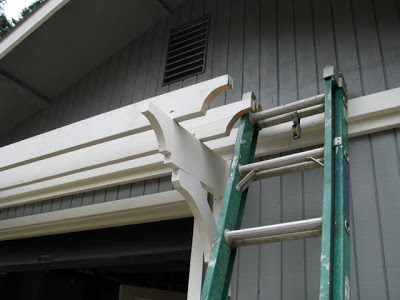
Next I attached the joists (or whatever they are called) using 3" screws. I screwed in at an angle from above on the back side of the joists. They are simply 2 X 6 X 12's with a decorative curve cut out of the end. To get that curve I matched what I had done on the bracket.
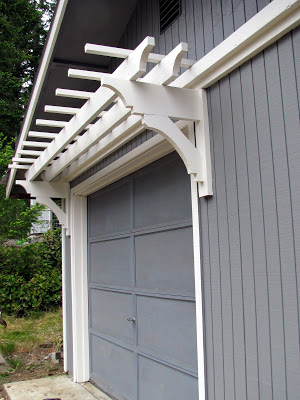
The 2 x 2 x 28" pieces finish it off. They are attached to the 2 x 6's with screws from above. I attached them after installing the 2 x 6's but in retrospect I would do it on the ground and have someone help me lift the whole thing into place. Less work on a ladder.
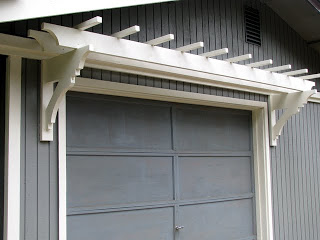
The paint alone makes a huge difference but the Trellis makes me smile, I Love it!
We still need to replace one more fascia board but I couldn't wait to post so hopefully Hubby will replace that next weekend.
Then we need some gravel, some large rocks to build a rockery, then I wanna make a patio, then plant some perennials.......s
o much more to do. The projects never end do they? But that's the whole point right?!?
Have a great week!
Update- Garage Door is Painted!