DIY Sawhorse Console Table
I'm back. At least that part of me that wants to build things is. I thought I'd lost her for a minute. Truth is I have been so busy growing my business this past year that I kind of lost that thing that makes me, me. Building things out of discarded other things and also wood.

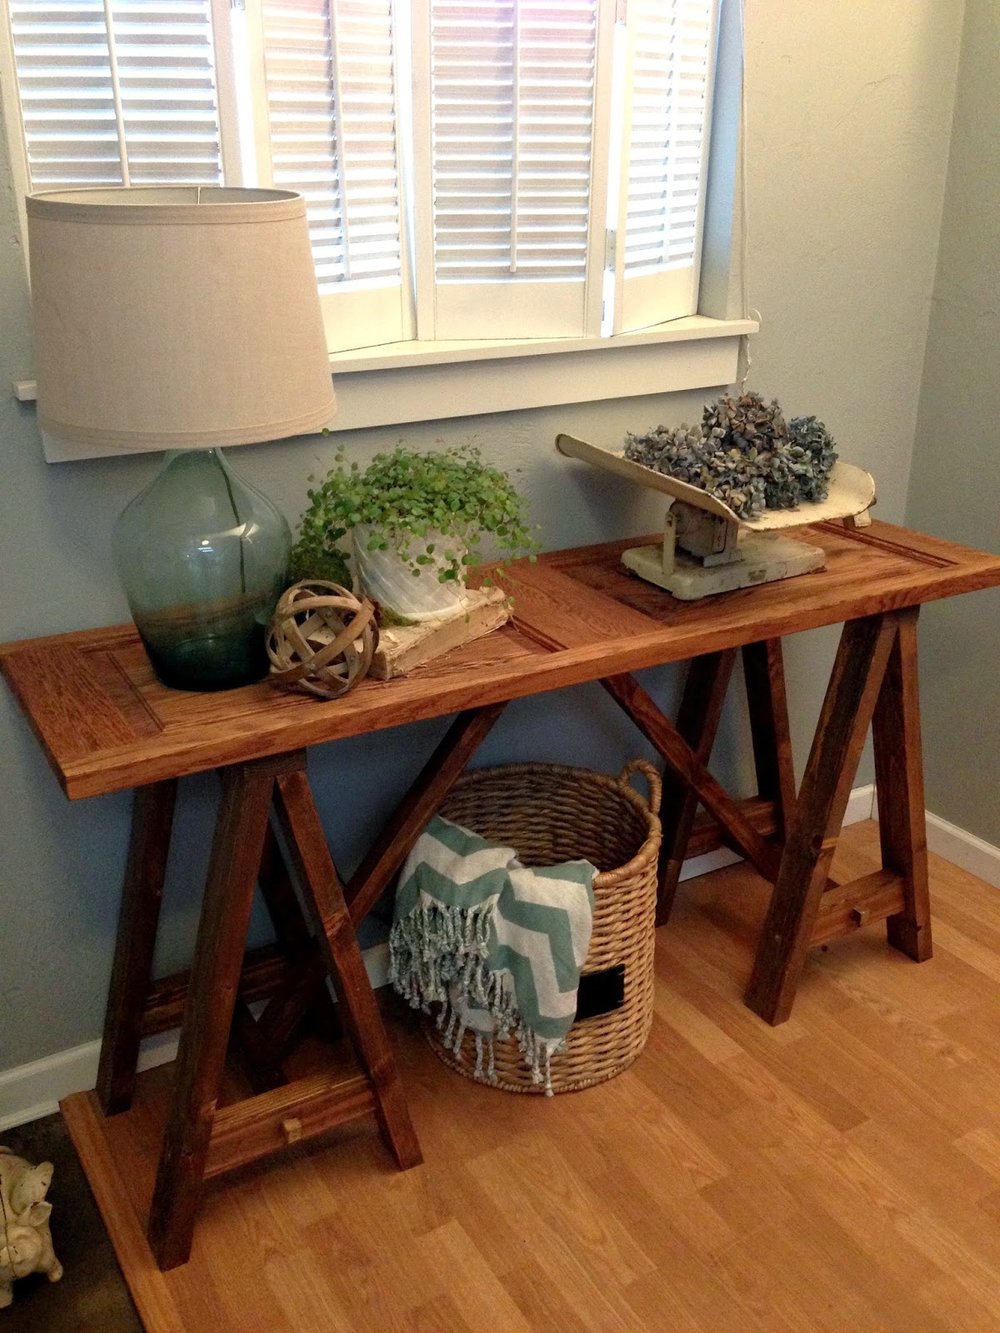
Recently I decided to build myself a console table. I have been looking for something for awhile but although I have seen a lot of cool pieces nothing was quite right. Plus I just wanted to build it. I have seen a lot of great DIY versions of this table it's not something new I came up with all on my own but I still love it.
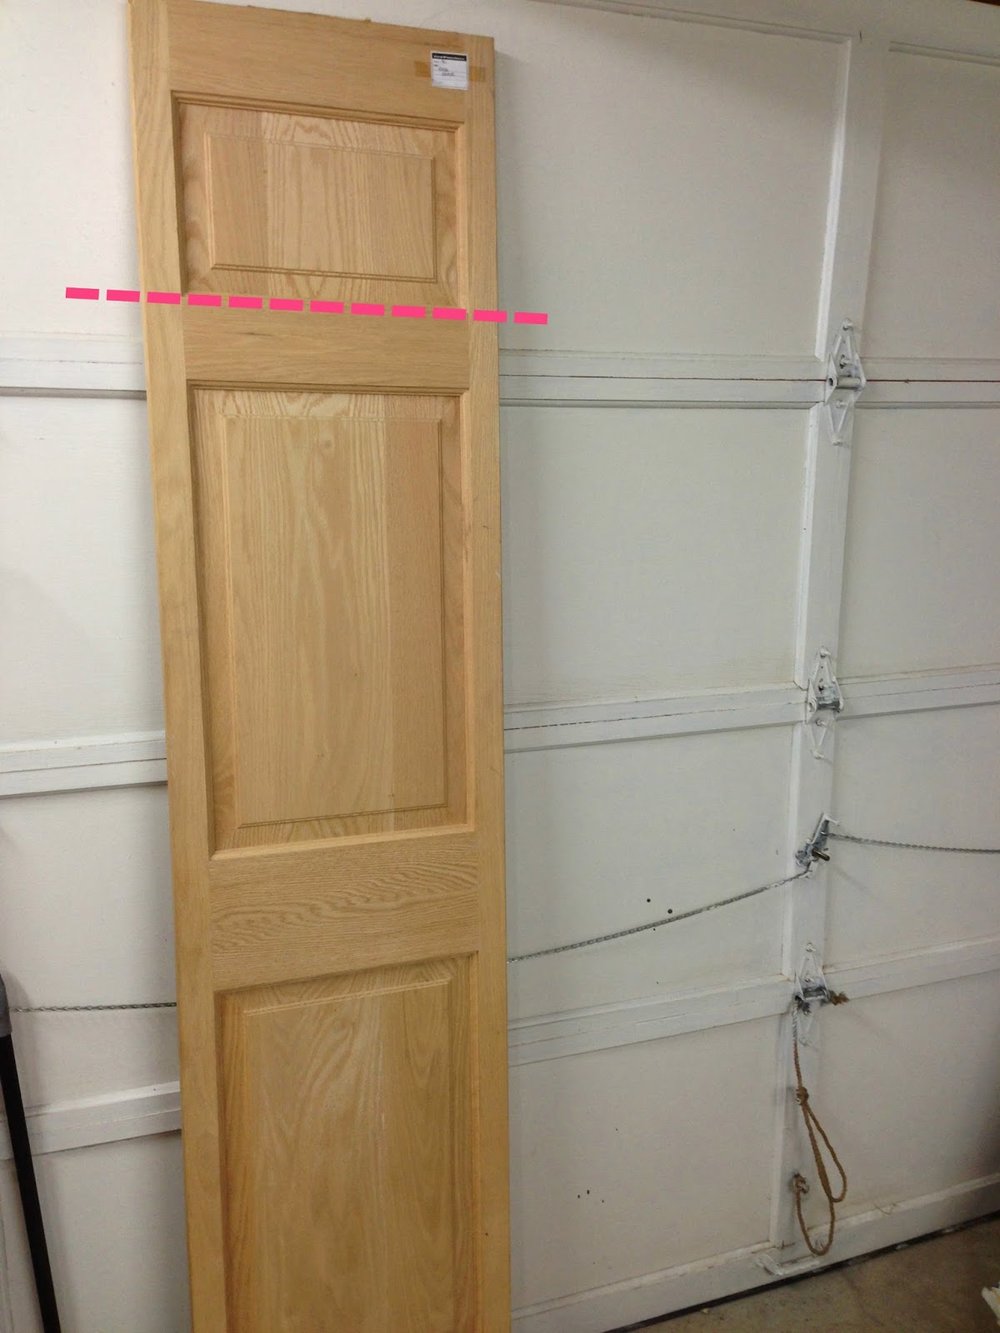
I started with this oak door I picked up at a salvage yard for $20. It is solid wood with panels and I thought it would make an interesting top. To make it work for my table I cut off the top panel and a little of the bottom to make it symmetrical.
Then I went about creating the sawhorse legs. My dimensions are unique to my table so I had to wing it to figure out the angles and lengths. There is a great tutorial out there for a similar style standard table which I will link to at the bottom of this post for those of you that would like more info on how to build your own.
I started with standard 2 x 4 lumber. I decided to rip the curved edges off my 2 x 4's with a table saw so they would look less 2 x 4 ish. This is not necessary but I like the look of the square edges better. I took 1/4" off each side so now they are 3".
Then I figured out my angle for the legs was going to be 13 degrees. This made the legs open up to 16" on the bottom which looked good to me. They are attached to a 2 x 4 at the top. Then I cut the support for the bottom using the same angle on both sides. Then the 2 x 2 stretcher that goes between the two supports. I also added a little chunk of wood to the make it look like a peg was holding the stretchers. Well maybe it kinda looks like that, I like it.


I attached the legs to my top from underneath and then figured out the angles for the cross pieces. That was by far the hardest part since I don't use math I use the eyeball and cut 10 times method. I got it eventually. For the cross pieces I used 2 x 2's.
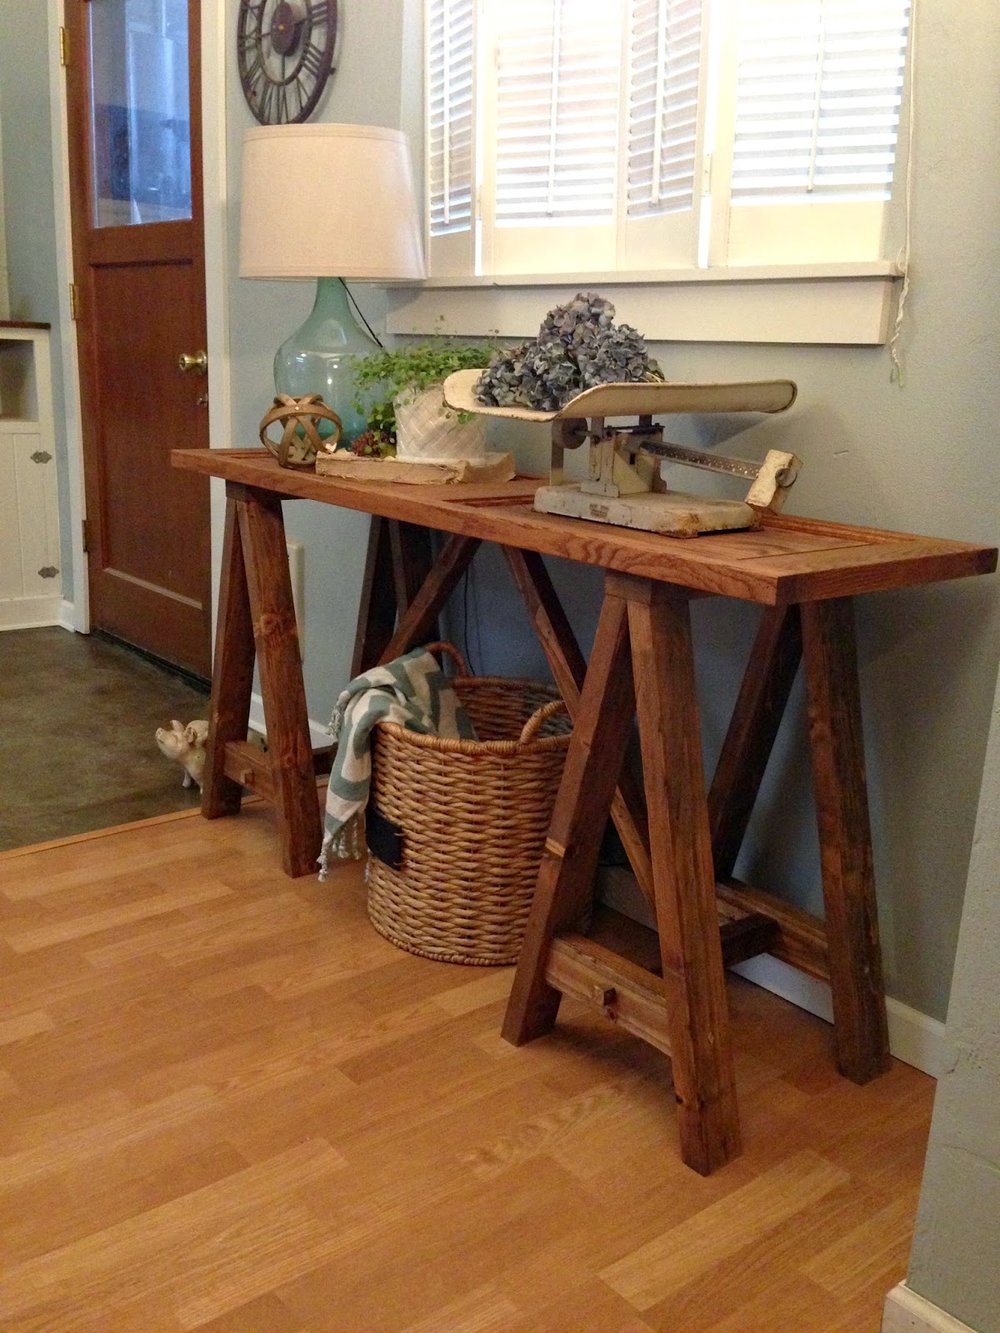
Next step was to stain with Minwax Puritan Pine. I plan to do a wash of off white milk paint over everything eventually because I have too much wood in my living room. It will also help blend the two different wood types. The grain in 2 x 4 lumber can be a bit random. This piece is supposed to go behind my sofa but I am enjoying it right now too much in my dining room so it may be awhile before I put it there.

I really love this style of table. It is a easy DIY that can be done in a weekend. I spent $20 on the door for the top and less than $20 on the rest of the lumber. The most important part about the whole thing was that is it was great to build something just for fun. Here are some links that inspired me Here & Here and of course everything that is Pottery Barn.
For plans for a similar table check this out Build a simple sawhorse table by Ana White.

Sharing at Wow us Wednesdays