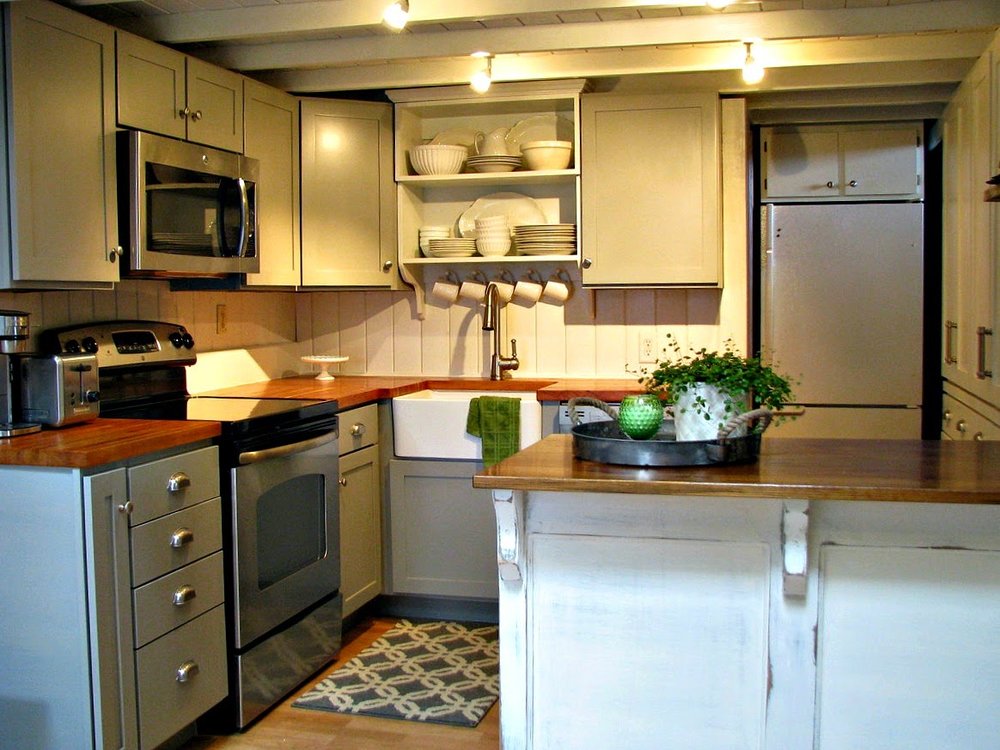
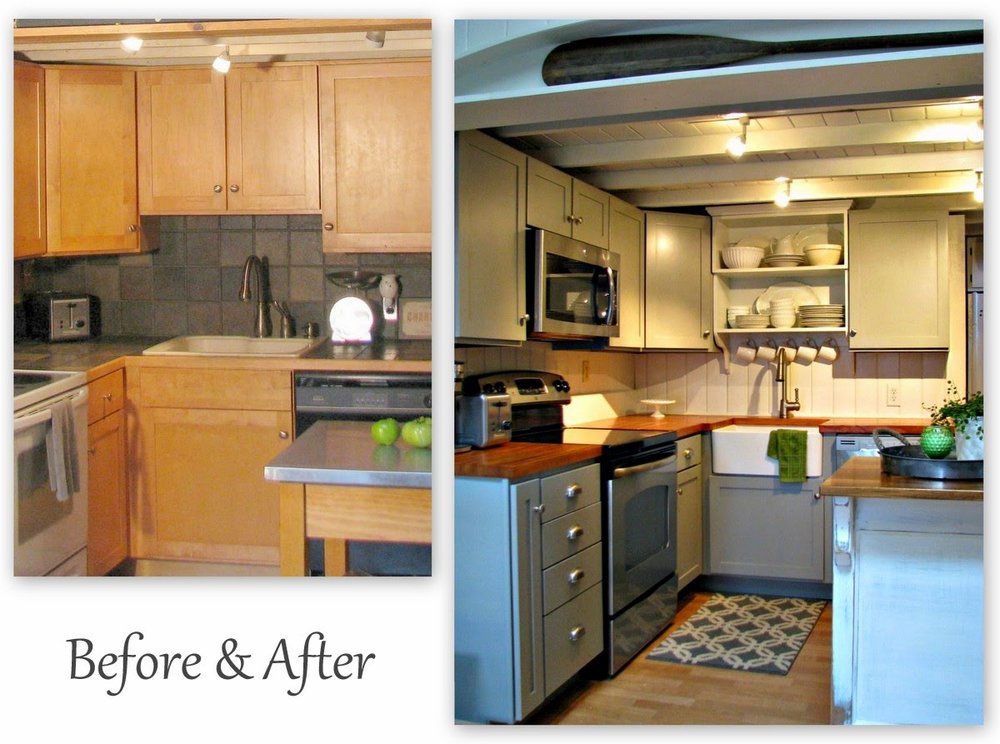
Kitchen Makeover Reveal

Oh wow. This kitchen remodel has been in the works for over three years. It all started when I found enough granite at a garage sale to re-do my tiny kitchen counters for $20. Crazy deal. That got me started with the plan. Notice there is no granite in the kitchen. By the time I got to the point of changing the counters I had changed my mind.
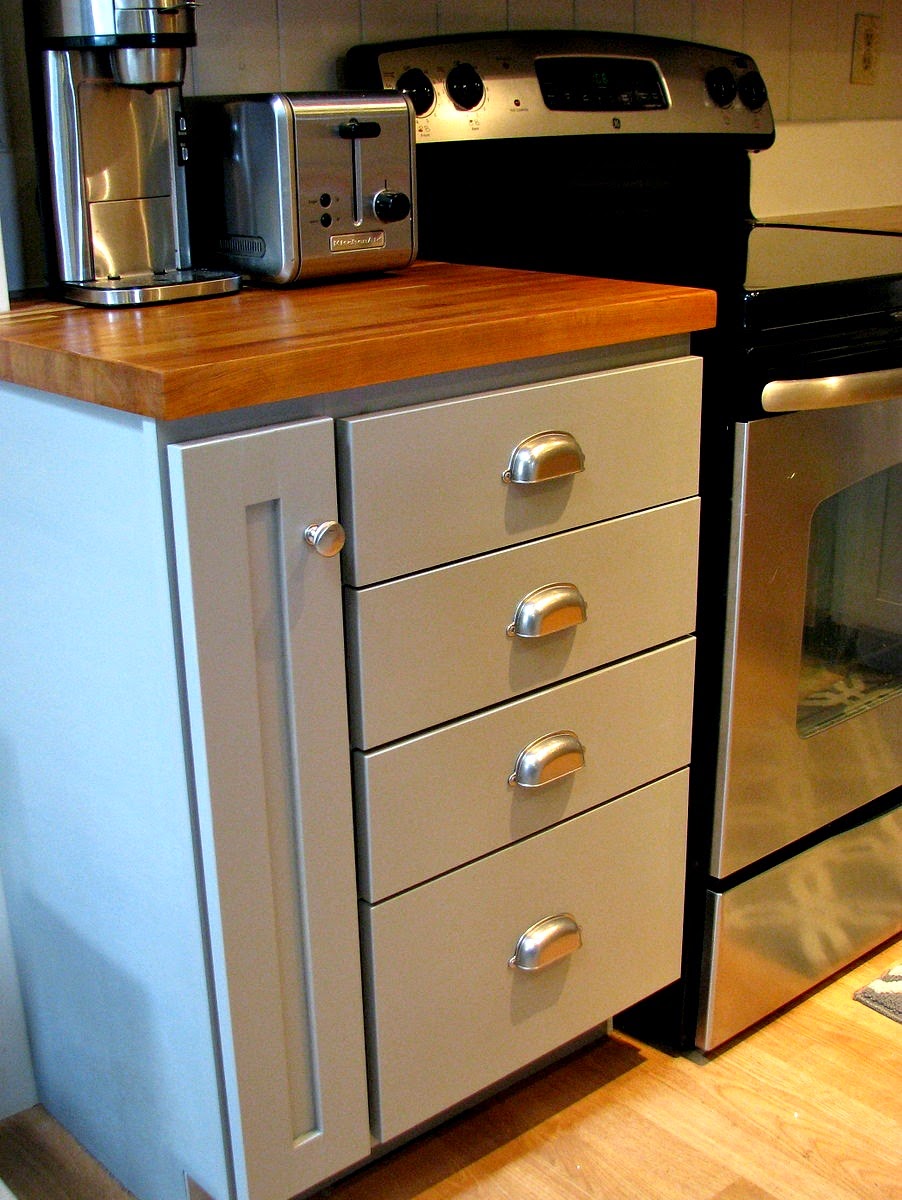
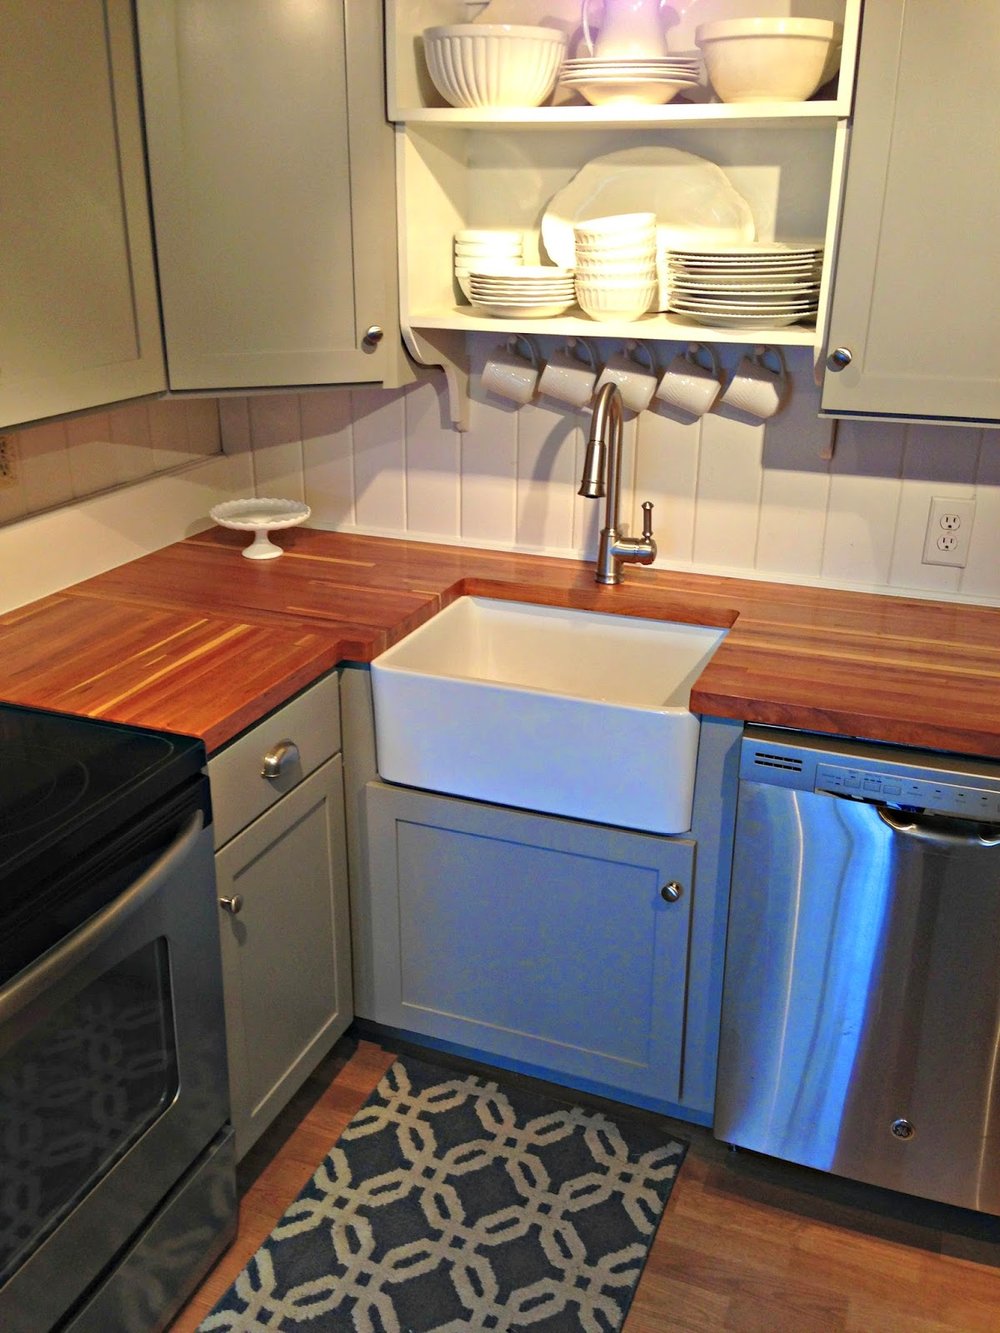
The first thing I did was paint the cabinets a custom mixed medium gray color. Previously they were maple and had yellowed something fierce. For the paint I used Benjamin Moore's Advance Paint in satin finish. It's made for cabinets and worth every penny of the $60 a gallon it costs. The sales person recommend satin finish because it won't show as many imperfections and I'm glad I went with that. I did not skip any steps in the prep. I washed down the cabinet with tsp then lightly sanded with 220 grit. Then I used liquid sandpaper after that. Then I applied two coats of primer and two coats of paint. I purchased a sprayer for this job because I figured I would use it again on furniture projects. The sprayer I bought was an airless made by Homeright. The finish came out great and it was easy to use.
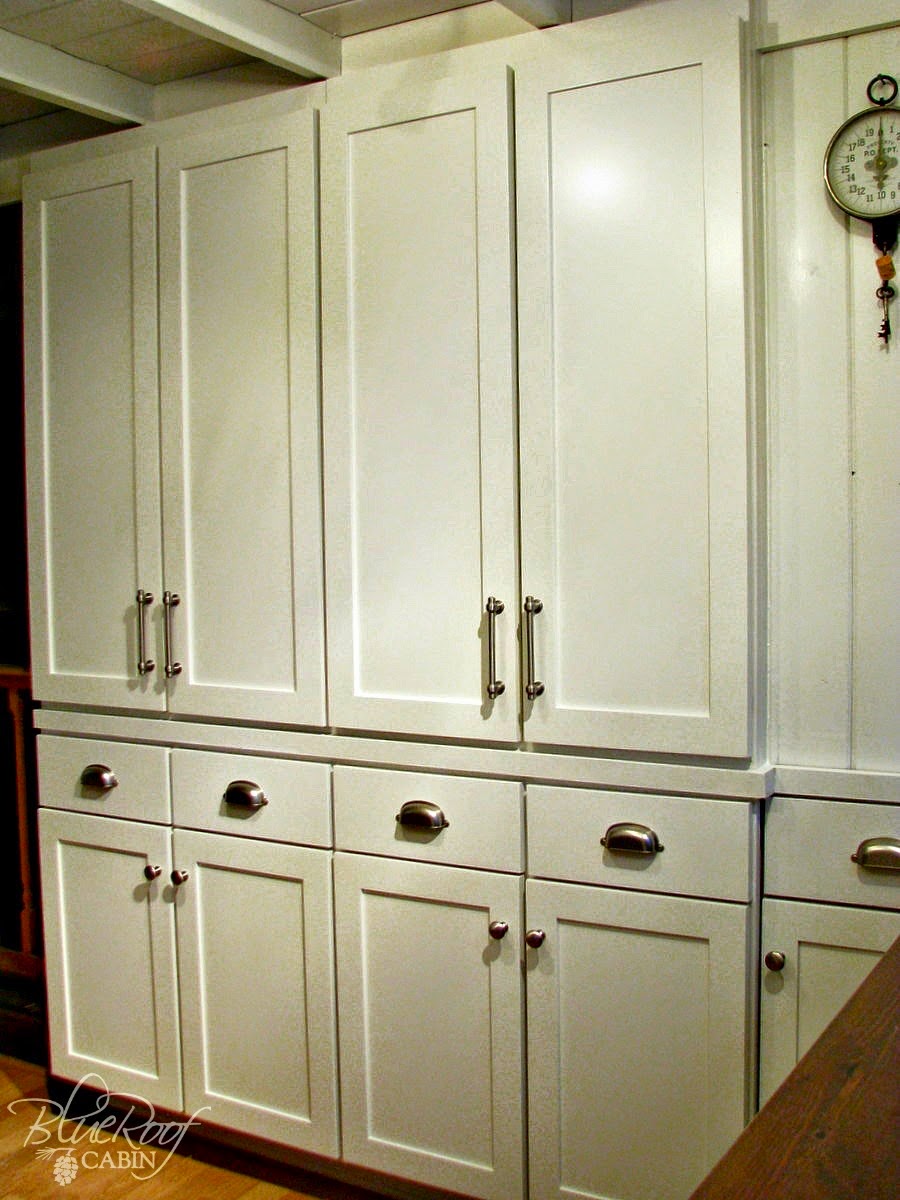
Next I built a shallow pantry on the wall across from the stove. To see the blog post on that click here.
Then months went by.
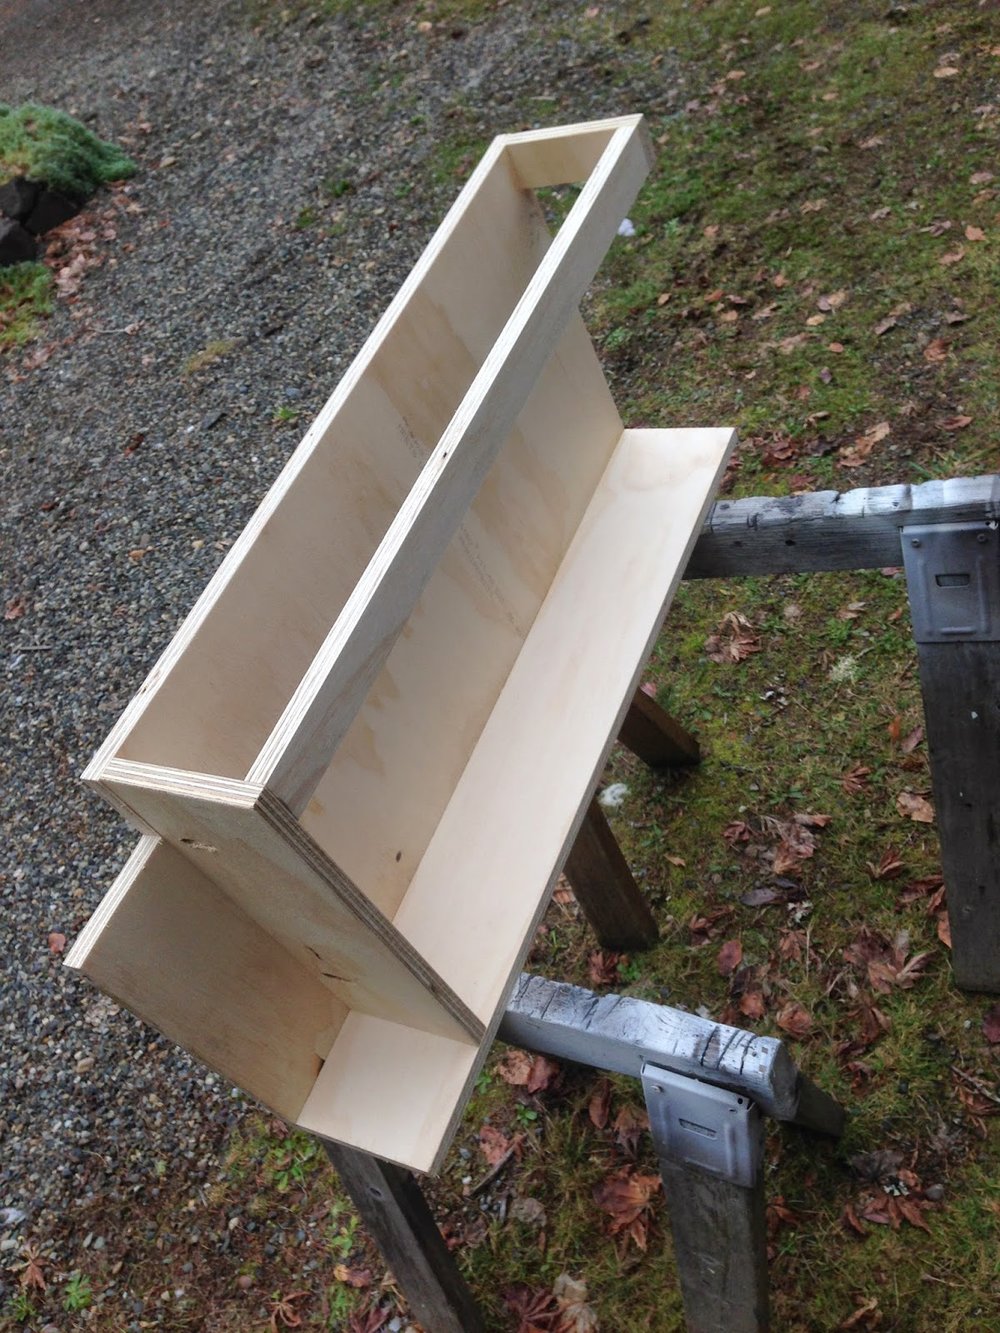
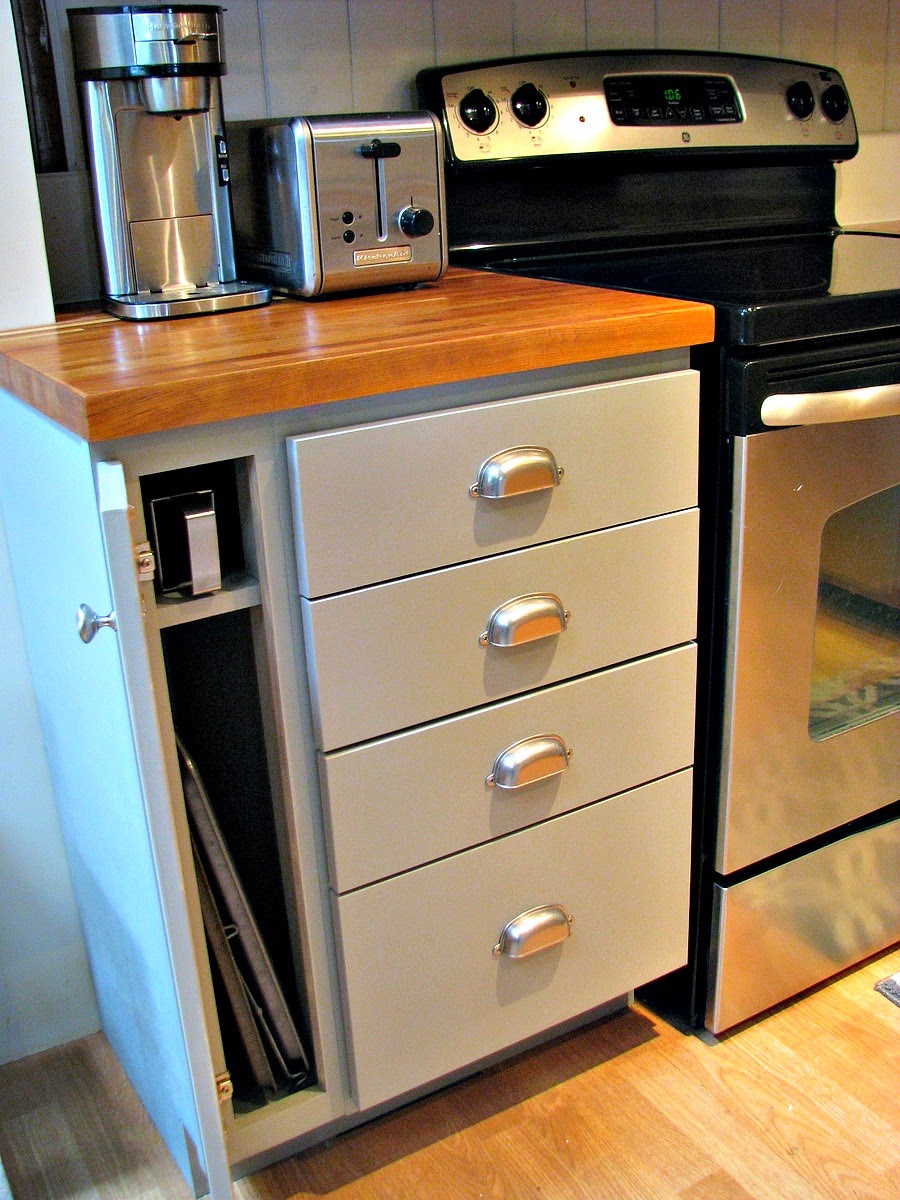
This space is so much more functional with that extra six inches of counter and the cabinet is perfect for cookie sheets and the cheese grader.
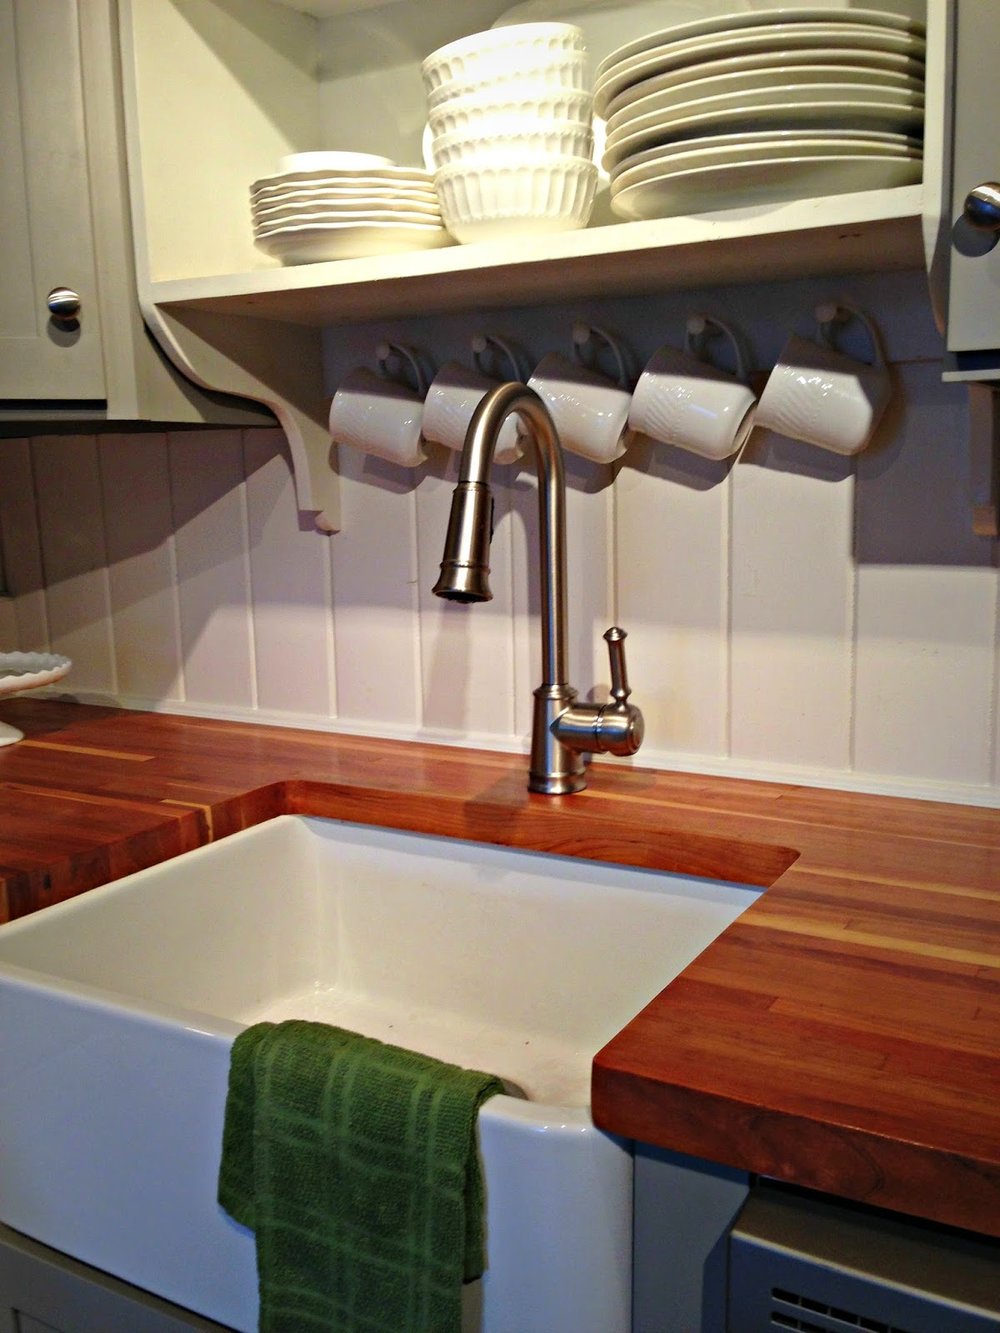
Then came the sink. I love apron front farmhouse sinks. My sister asked me why I wanted this sink so bad. I was like cause it's pretty and I love it. Enough said. Well I will also say I know it was a total splurge that I did not need. I thrift, salvage and DIY a lot of the things I bring into our house and really don't buy new very often, by choice. I just wanted to treat myself to something pretty. Oh and I love the shiny new faucet too. It's Lindley by Moen from Home depot.
The new sink meant we needed a new sink cabinet. Our old one was way to twinkie to support the weight of the sink. I built one out of 3/4" birch plywood. The new face frame had to fit around the sink so I built that out of 1 x clear pine. I was able to reuse the old door but it needed to be shorter. To accomplish that I cut the bottom off then glued a piece of thin trim on the bottom to mimic the paneled look. Once painted and it looks good as new.
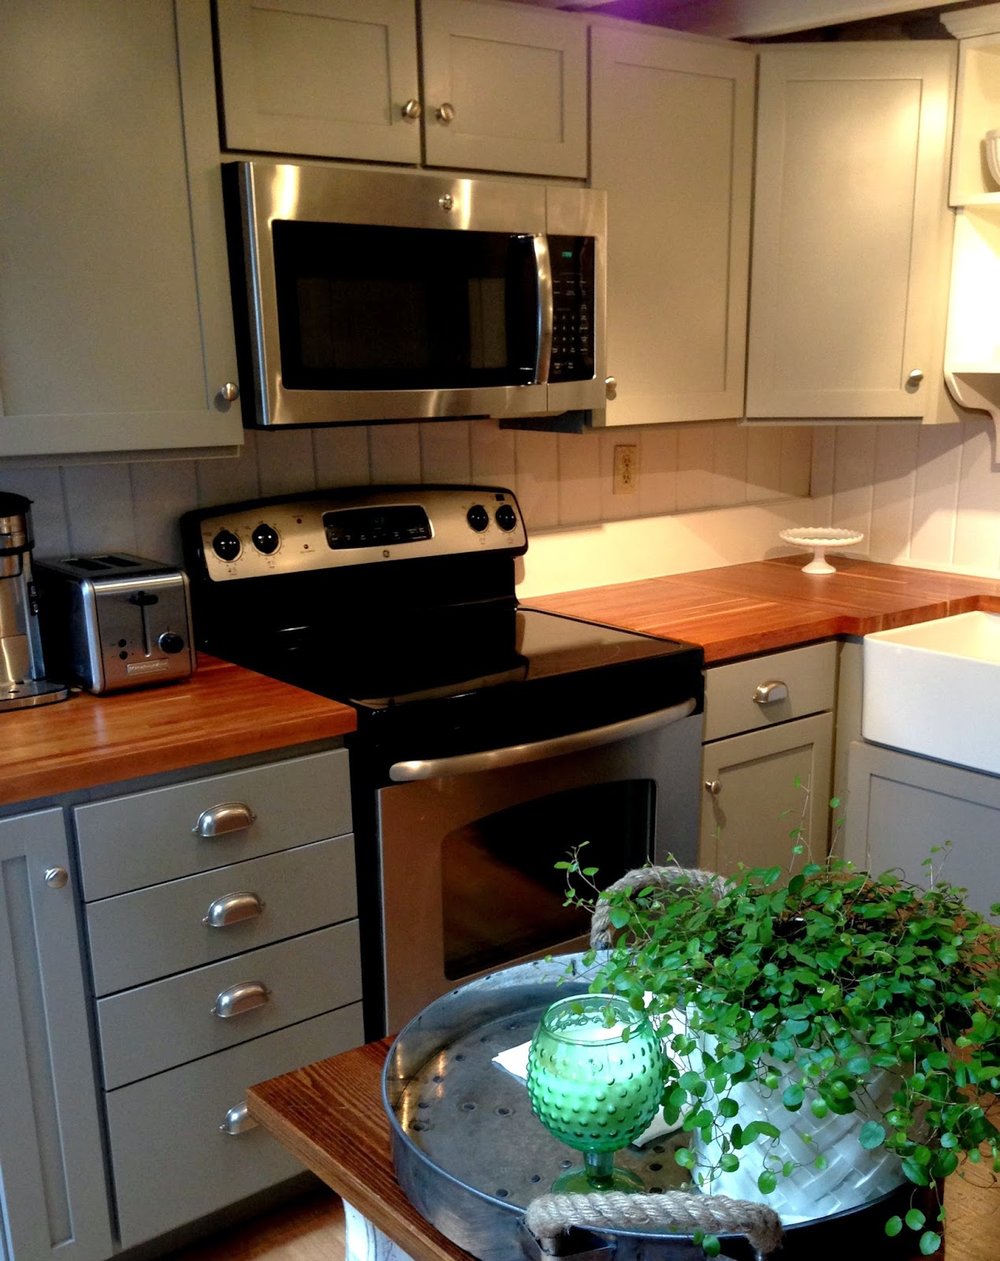
Next up finally installing the counter top. I mentioned earlier that I had found granite for $20. I had planned to have my husband and I cut it but three years later it still wasn't done. So I checked with a local Granite shop and they wanted over $500 to cut it!!! See how small my kitchen is? I could have looked harder for someone to cut it but I had really fallen out of love with the idea of sparkly black granite once I painted the cabinets gray. It would have been to masculine looking for my taste. The butcher block I chose really warms up the gray and blends better with the casual vibe I'm going for. My husband loves it so that makes it even better.
The counter top is American Cherry from Lumber Liquidators. Is was quite a bit less expensive then having the granite cut and it is beautiful. I sealed it with Waterlox which is a penetrating oil based sealer. It does darken and warm up the color of the wood so keep that in mind if you use it. I am happy with the finish it seems like it will hold up well.
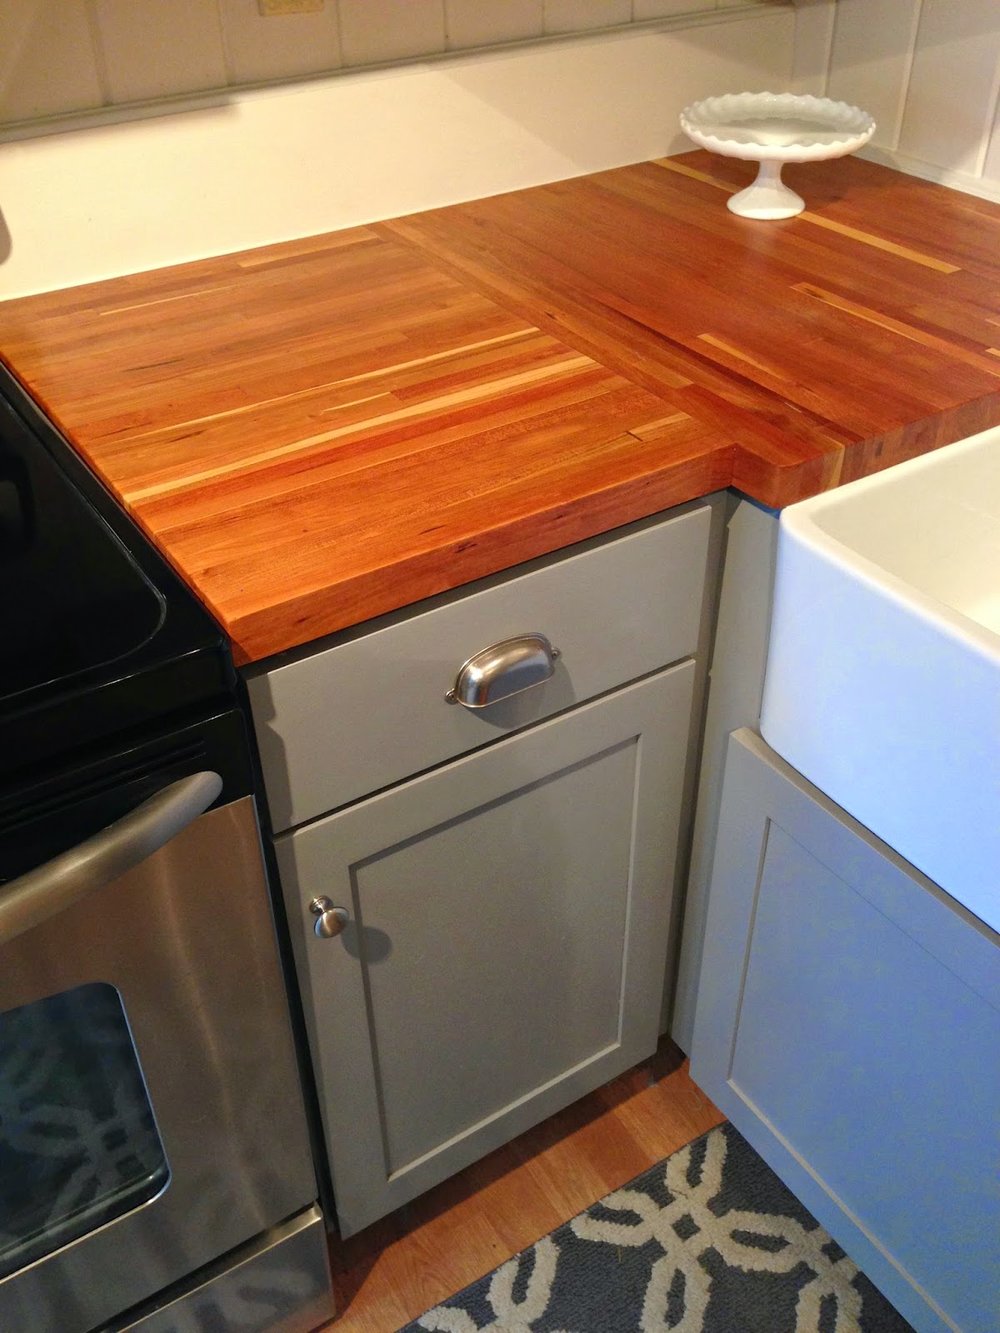
I changed the drawer pulls too. I like these chunky bin pulls, they keep it casual looking.
Butcher Block really is a great option for the DIYer. I made all the straight cuts using a skill saw and a straight edge clamped to the surface. My husband cut the sink hole out for me with a router and a straight bit. That part is a little tricky so I had him do it. He is more meticulous and patient then I am with things. That's kinda how we DIY. I do all the stuff I want to do then call him in to do the things I don't. Seriously though he saves me all the time when I get frustrated.