DIY Rolling Industrial Shelving
My studio beautification project has been on hold for a few months. With the holidays and paying projects that needed to get done I had to put it down for a bit. This week I did a little more on it. After working in there for awhile I realized I needed some more storage. I also had a client scheduled to come over at the end of the week and well nothing motivates like having company right? I decided to build a rolling storage shelf out of 2 x lumber to contain my mess.

My inspiration came from the Restoration Hardware Rolling Storage Shelf found here. I modified the dimensions to suit my needs. I also found a plan on Ana White's website that I got some ideas from. If you want to make one for yourself check out her plans here. I know I'm not the first to do a knock off of this shelf, but who cares I love the industrial look of it. One of best ones I've seen was this one. She used barnwood.

I found these awesome casters at Home Depot for less then $6 a piece. That's the cheapest I found and by far the coolest looking. They are vintage inspired and very beefy. I love them.
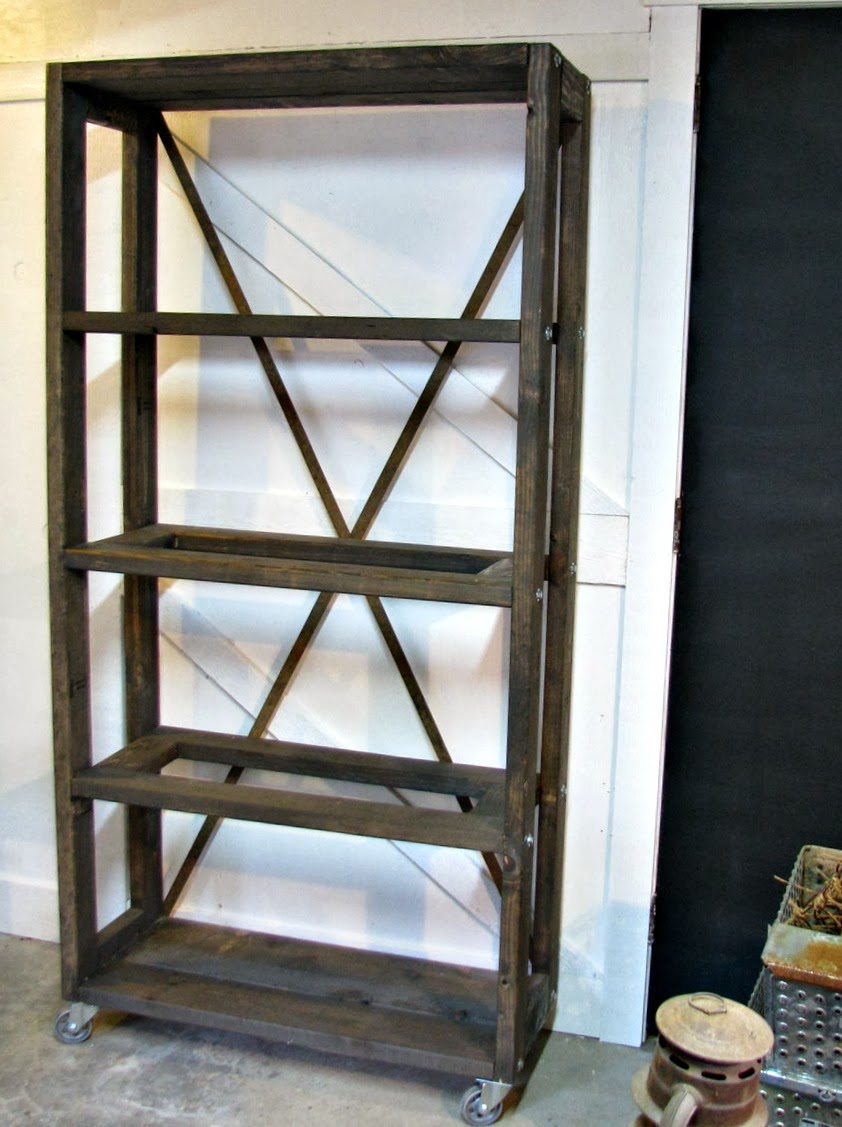
I stained it with a 50/50 mix of Weathered Driftwood and Dark Walnut Stain by Rustoleum. It makes a nice weathered looking brown when used on light colored wood.
I got the 1" rusty steel flat bar that I used in a cross design on the back from my husband. He was kind enough to cut them to size and drill holes in the ends for me.

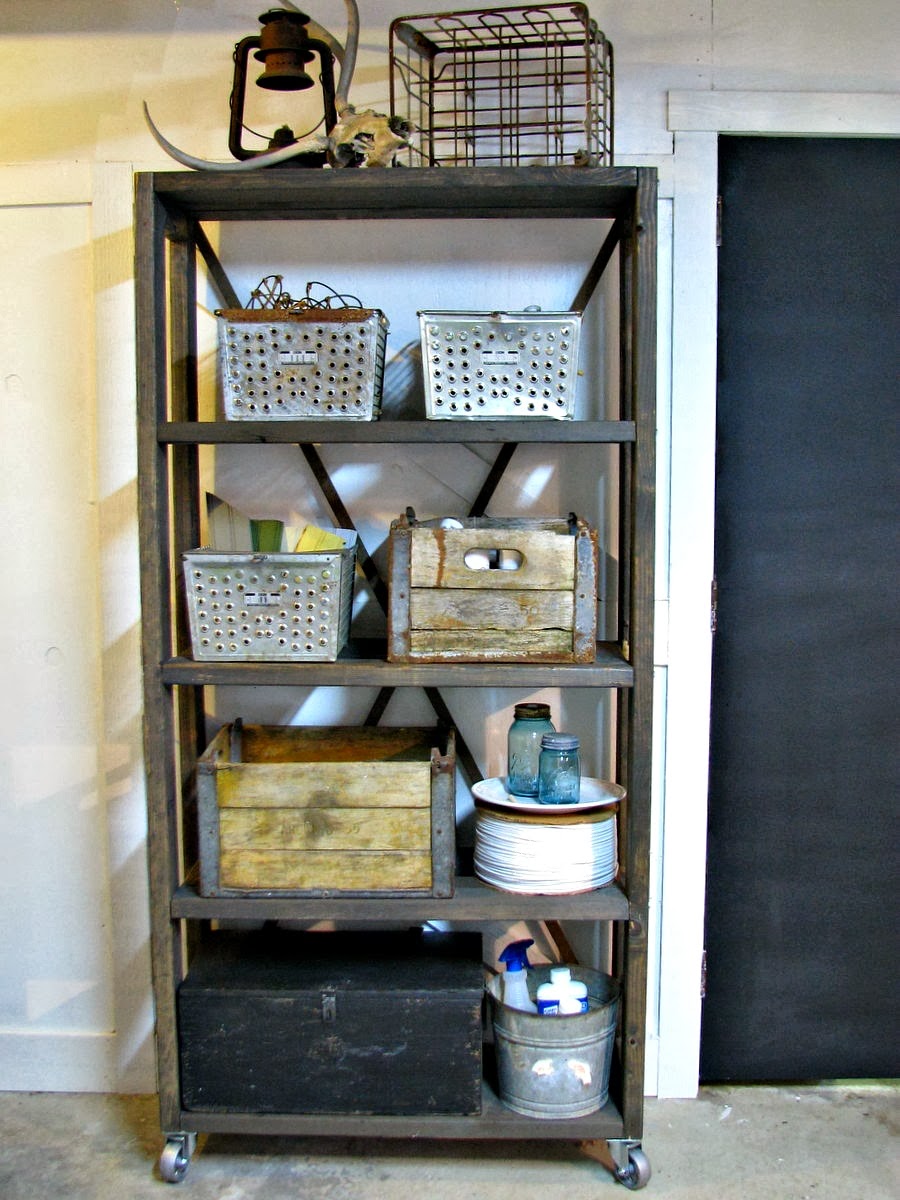
The lockers and crates were actually the stuff that I needed to store. I keep them around because I love them and for staging photos but they were getting in the way. This way they can be functional and pretty.
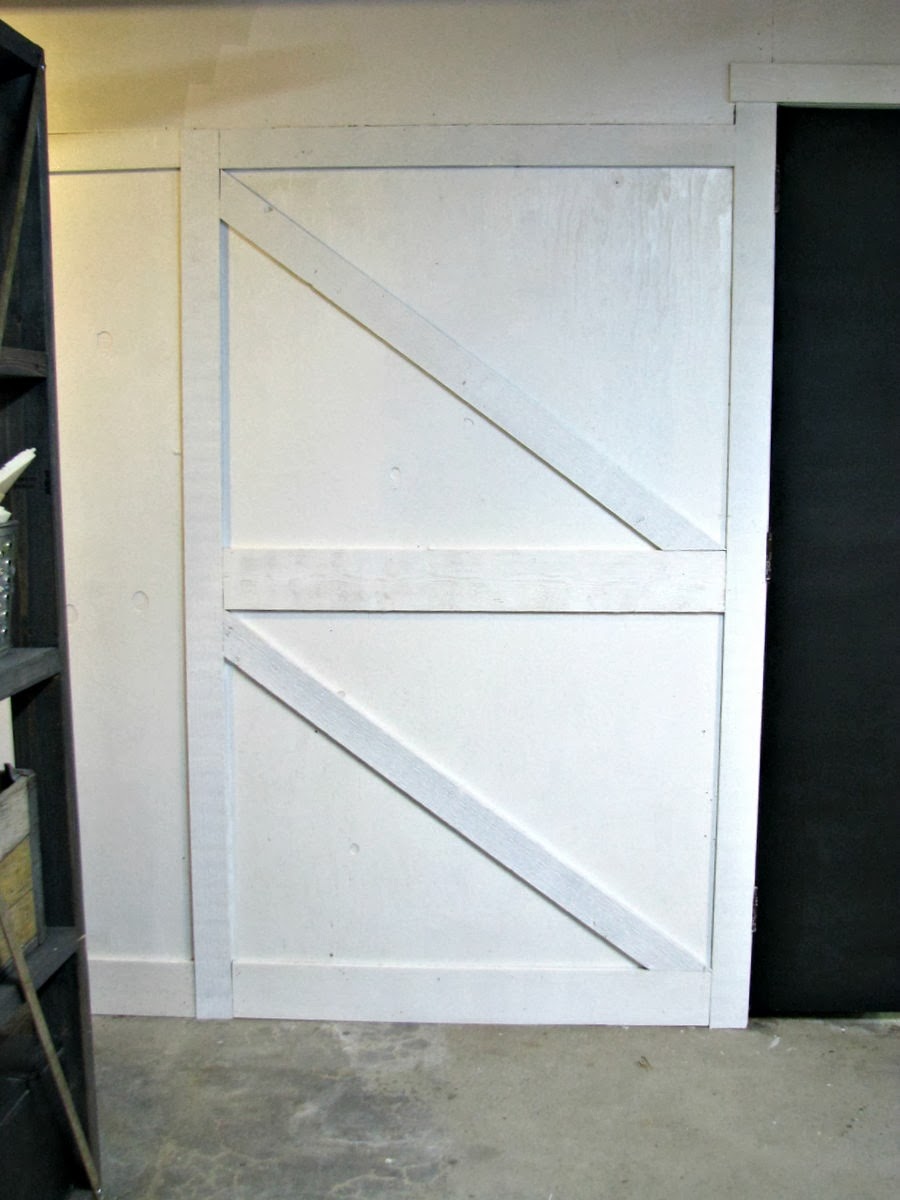
It was a must to have casters on the shelving unit because my space is limited. The wall behind it will serve double duty as a backdrop for staging furniture. I used primed white wood trim with a rough texture to make a faux barn door. The wall is covered in plywood so I just nailed it on.


I hung the chair on the wall using a plate hanger because it's not usable as a chair. It is art and it inspires me.

I painted the door with chalkboard paint so it too can be used as a backdrop.
I am almost done with the Studio, I just have a few finishing touches to do on the cabinet/window wall. Then I will do the final reveal and be finished!
