Rustic Wood Message Cente
First off I want to say thank you so much for your comments on my last post. I can't even express how much I appreciate your support and encouragement!
Today was my first day of my new career. I slept in, then grabbed some coffee and watched last nights American Idol while catching up on blogs and pinterest. Until Oh, about 11 am. (This could be bad friends) I did finally get moving and actually got a lot done. I painted a large shelf, put a clear coat on a bench and made some final touches to a few pieces I've been working on for my new shop space. I cannot wait to get the stuff out of my craft room so I can focus on building new things. My mind is just bursting with ideas!
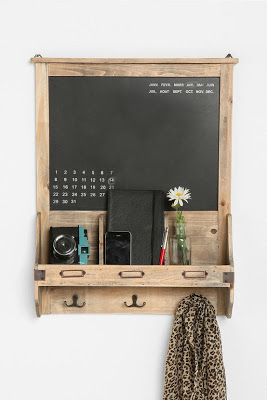
I thought I'd show you something I finished today. I was inspired by a pin I saw on Pinterest of a message center from Urban Outfitters. Here's the inspiration picture.
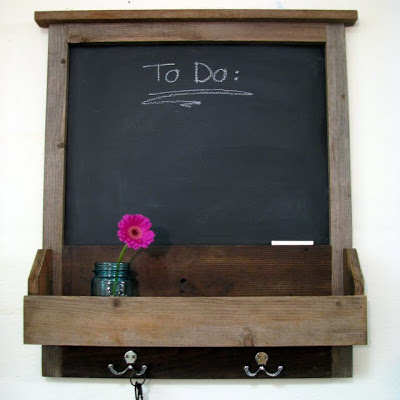
I had some wood in my stash that was nice and weathered. It didn't take very long to make and I think it turned out cute.
Here's how i did it
.
Cut list:
2- 1x2x28"
1- 1x2x21"
1- 1x12x21"
1- 1x2x26"
1- 1x4x24"
1- 1x4x22.5"
2- 1x4x7"
1- 23"x23" Masonite painted with chalkboard paint.

I made the frame first using 2-1x2x28" boards for the sides, the 1x2x21" for the top and a 1x12x21" board for the bottom. I used my Kreg jig jr to drill pocket holes into the top and bottom boards and then attached them with glue & screws to the sides. I was a bad blogger and didn't take pictures along the way so the little green lines above are where the pocket holes are on the back side.
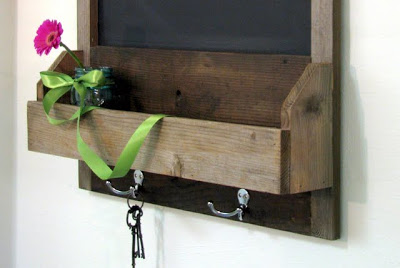
For the shelf cubby I cut two 1x4's to 7" and cut the corner off at a 45 degree angle to make the sides. The front is 1x4x24" and that makes the bottom of the shelf 1x4x22.5". This I put together with glue and my nail gun. I placed the shelf 3.5" up from the bottom to allow for the double hooks.
I then glued and nailed the 1x2x26" board to the top to finish it off. For the cut ends I used the technique I talked about
here
to make them blend in and look weathered. It works so well. I love it, it's like magic (or chemistry, whatever I call it magic.)
For the back I used a piece of masonite that I lightly sanded, primed and then painted with chalkboard paint. I attached it with staples.
I would like to find some of those label holders for the front like in the inspiration picture but I will have to order them on-line since I cant find them anywhere in stock.
Well thanks for stopping by, I hope you all have a fabulous weekend!
